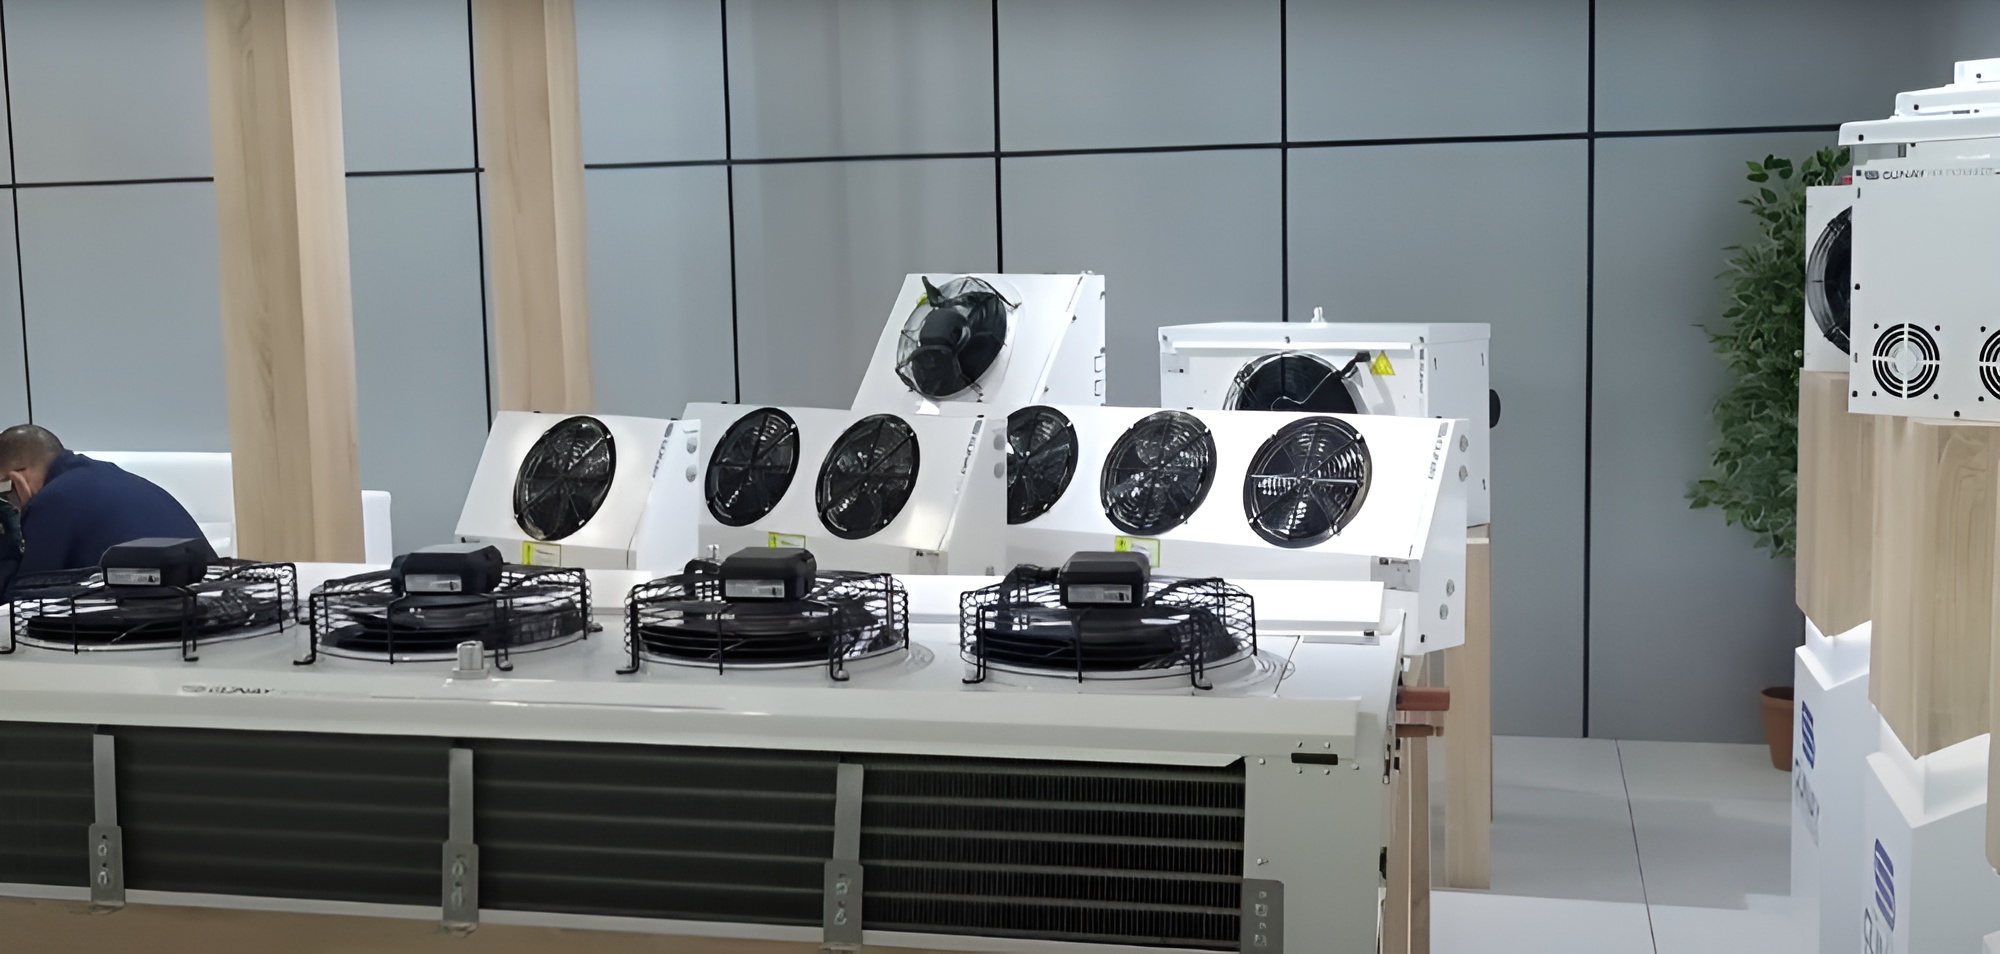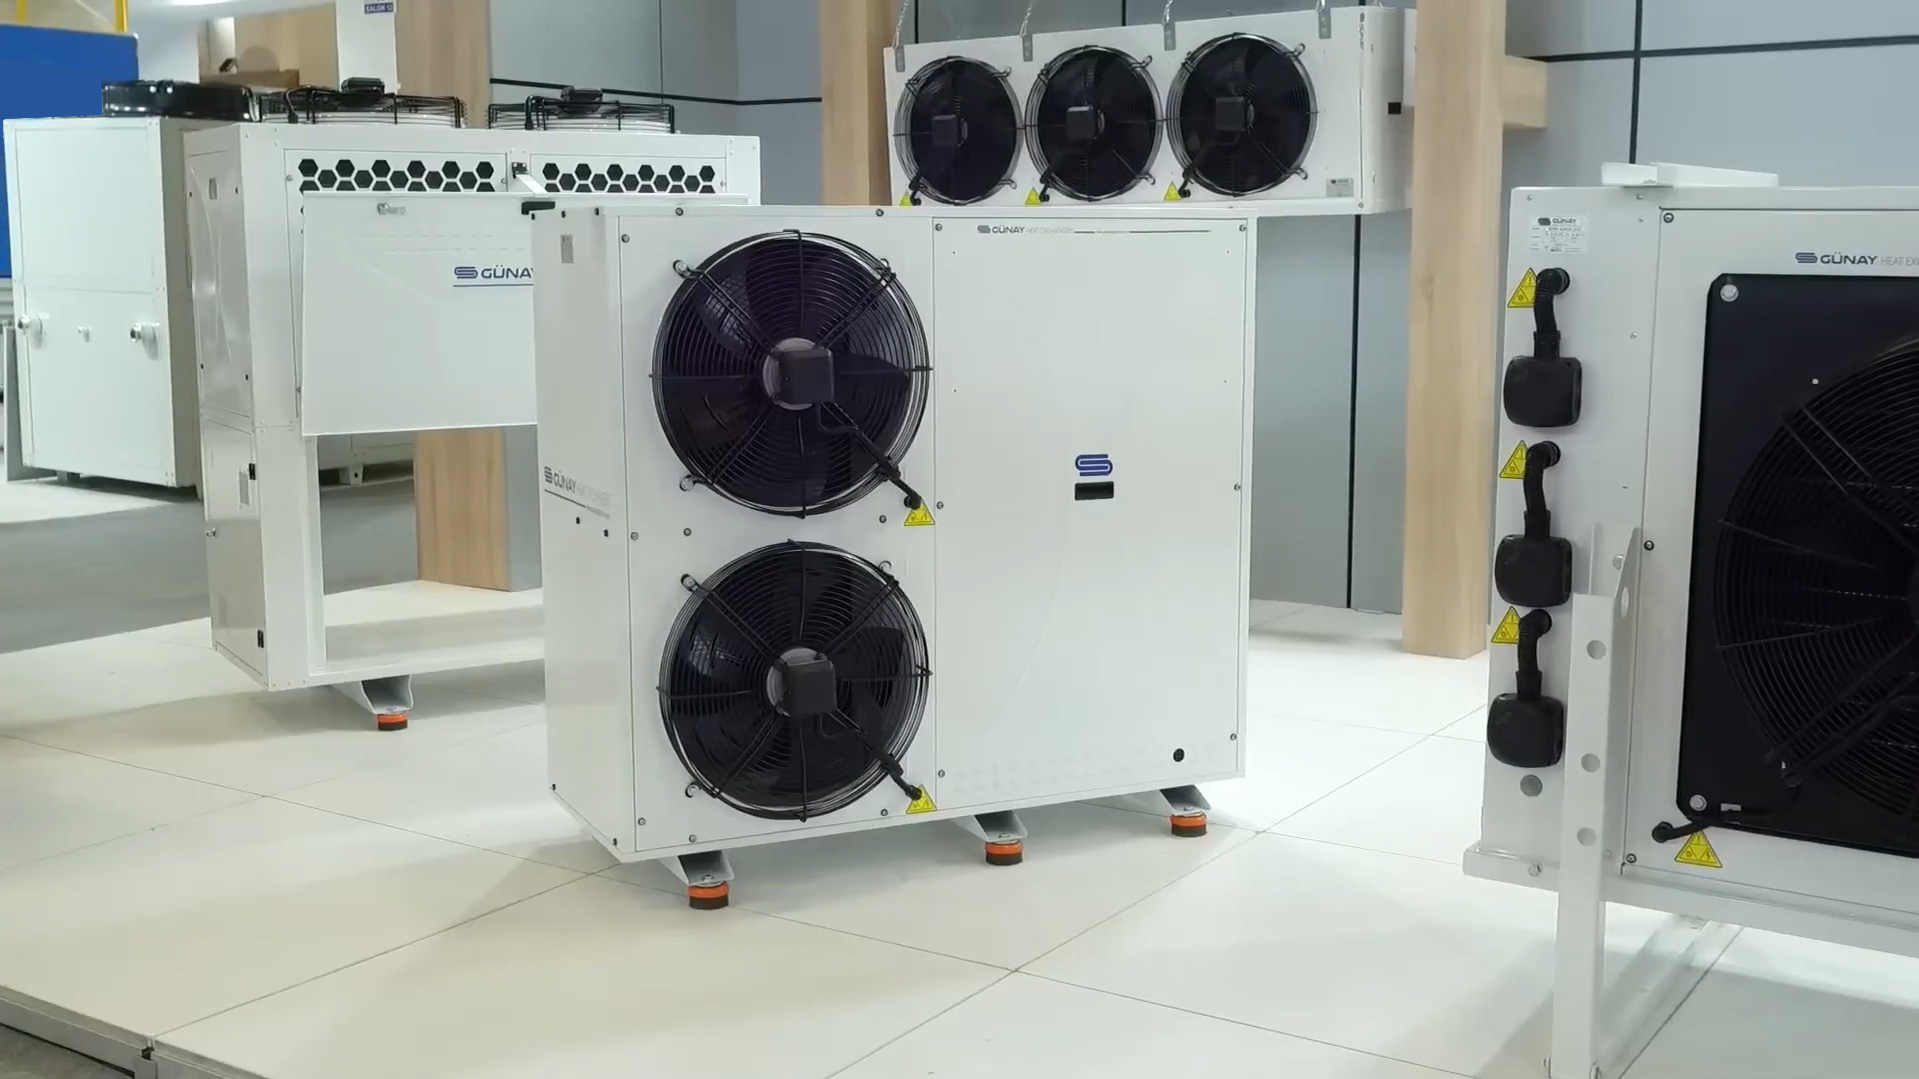
Once the evaporator installation is complete, the first start-up determines whether the system will work properly. A small mistake at this stage can return later as frosting, capacity loss, or a compressor failure. This article explains the checks to make before commissioning, the values to monitor at the first start-up, and why the commissioning report matters.
Table Of Contents
- Which Checks Are Made Before Commissioning?
- How Are Electrical And Fan Checks Carried Out?
- How Are Leak And Pressure Checks Carried Out?
- Which Values Are Monitored At First Start-Up?
- Why Is The Commissioning Report Important?
- Frequently Asked Questions
Which Checks Are Made Before Commissioning?
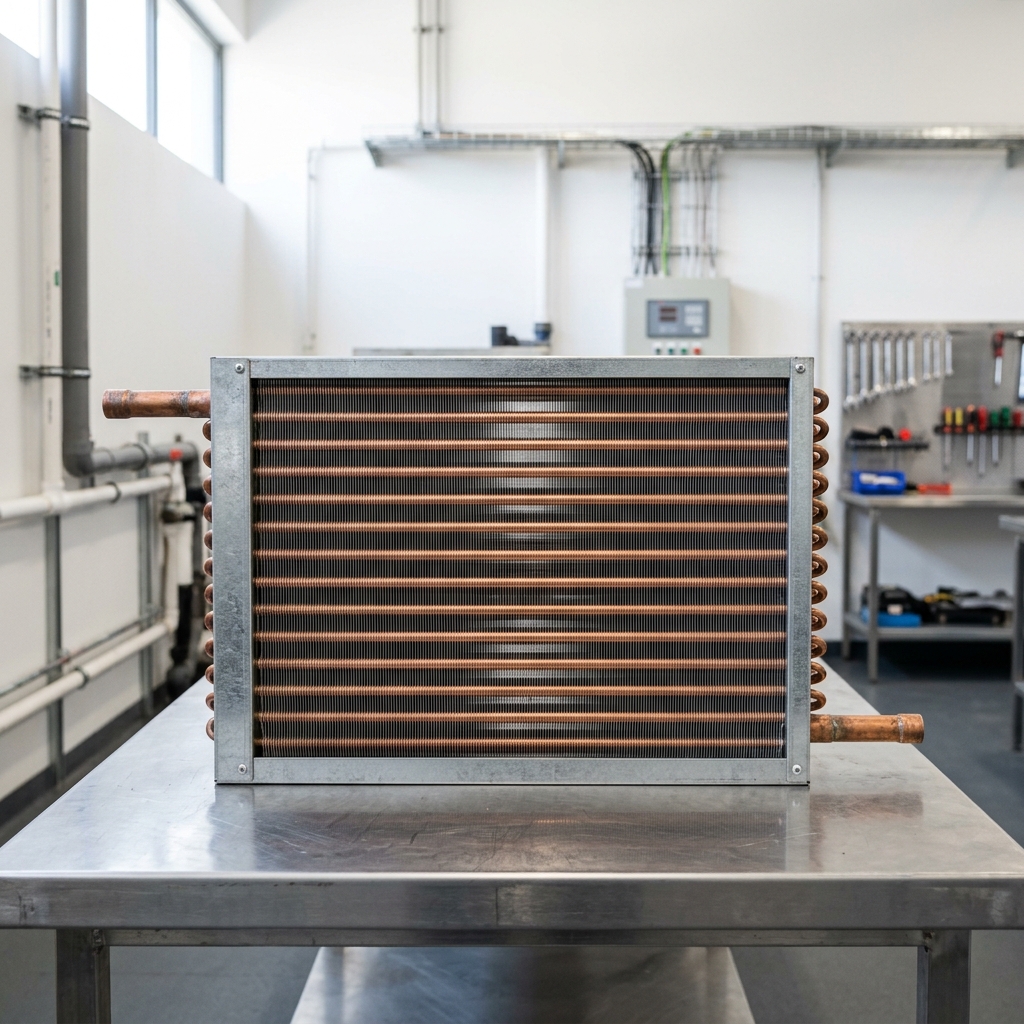
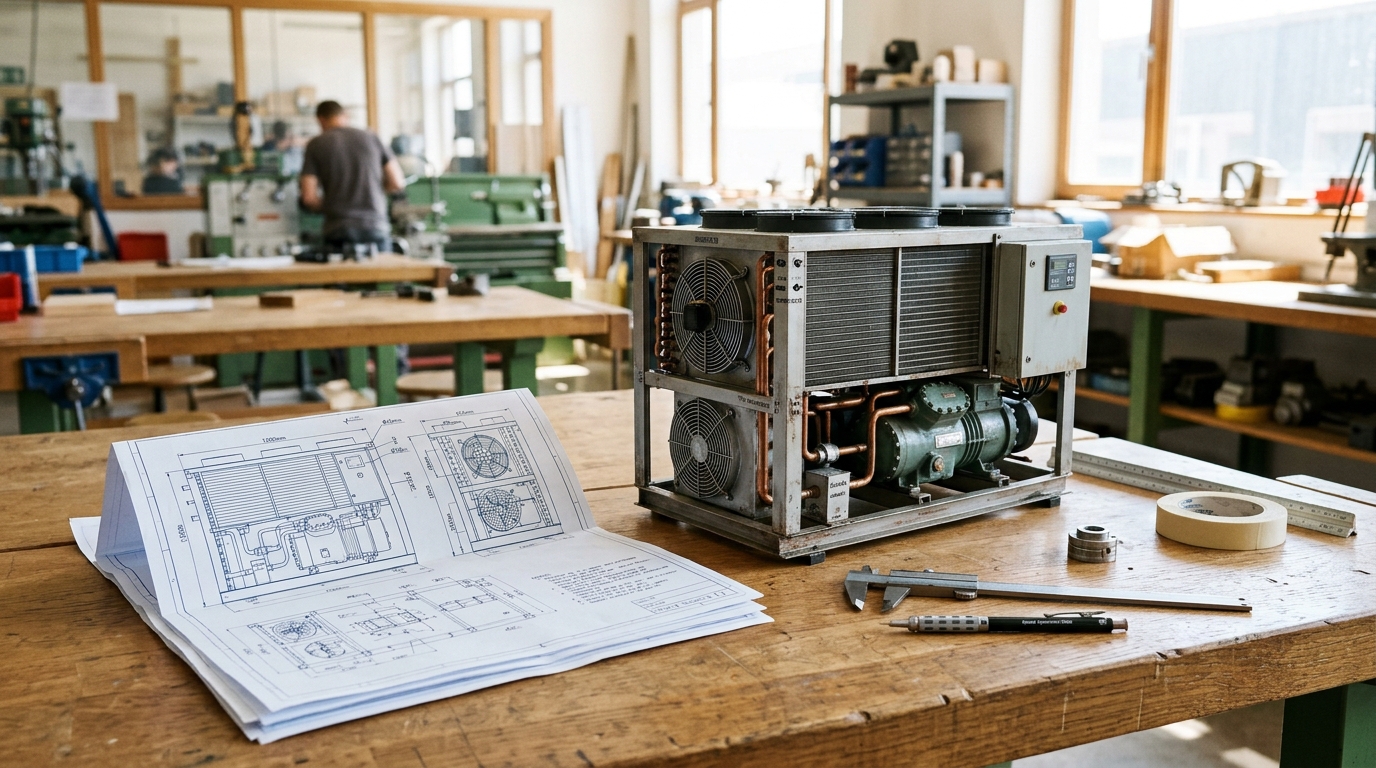
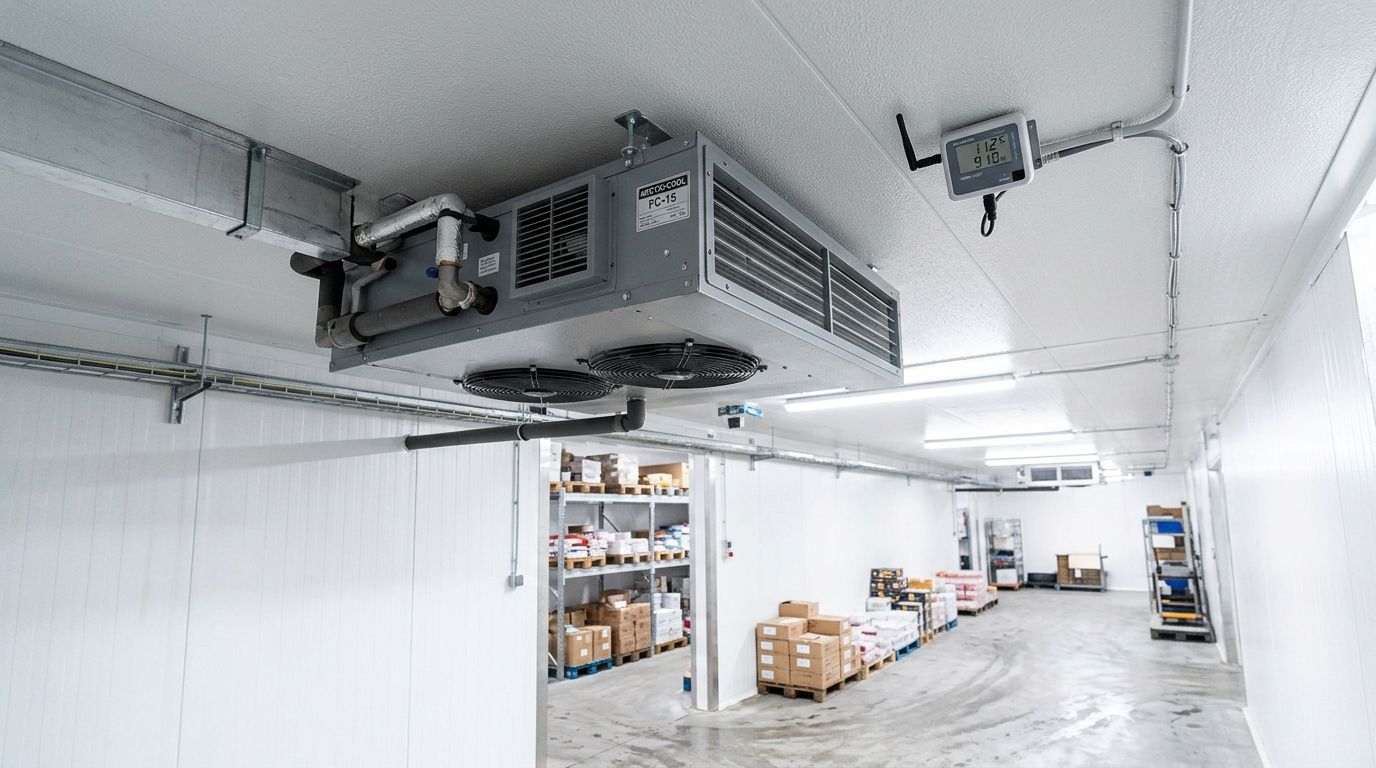
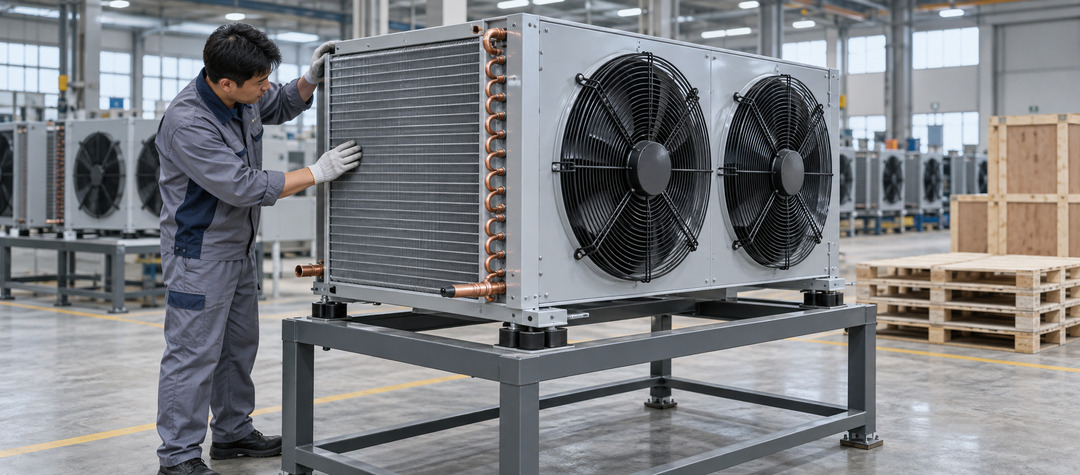
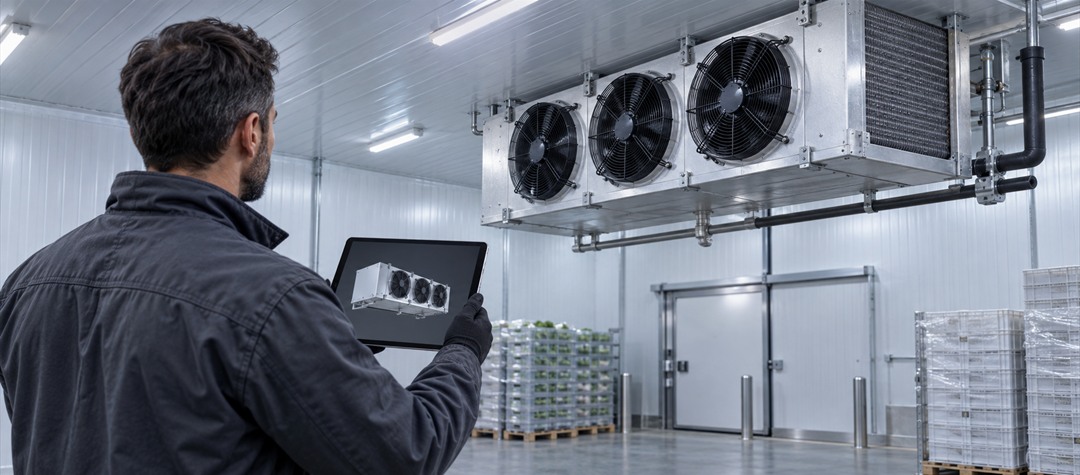
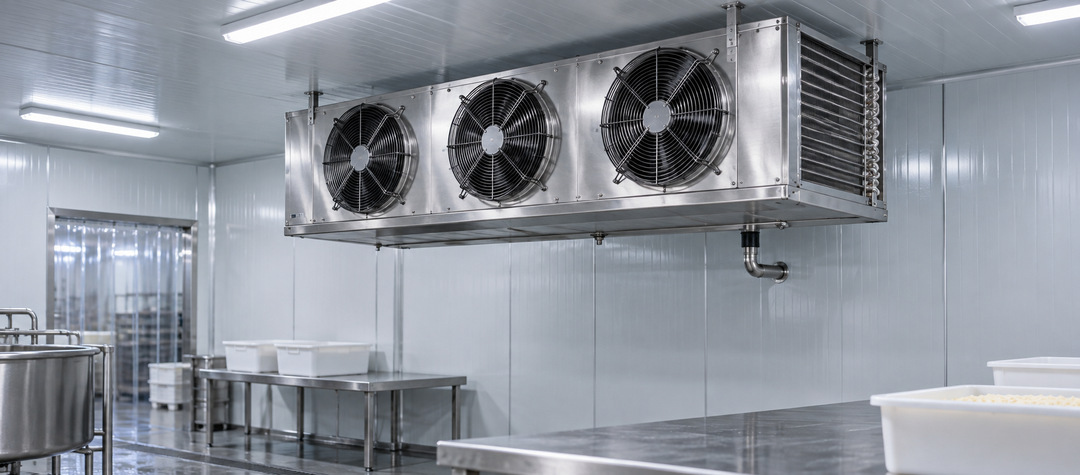
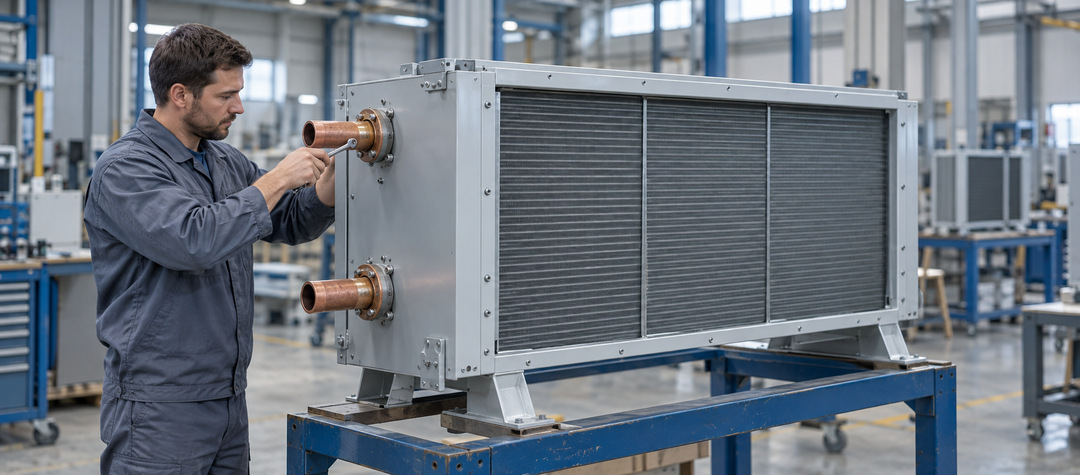
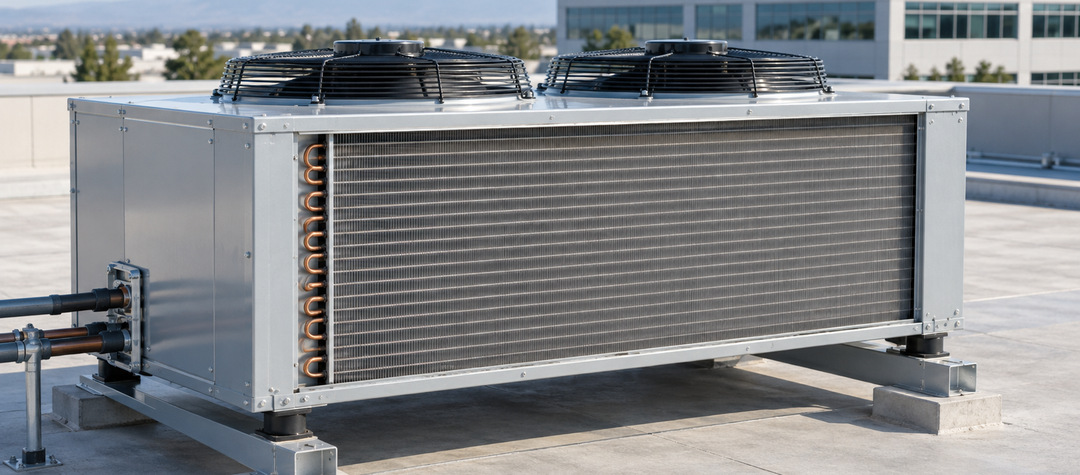
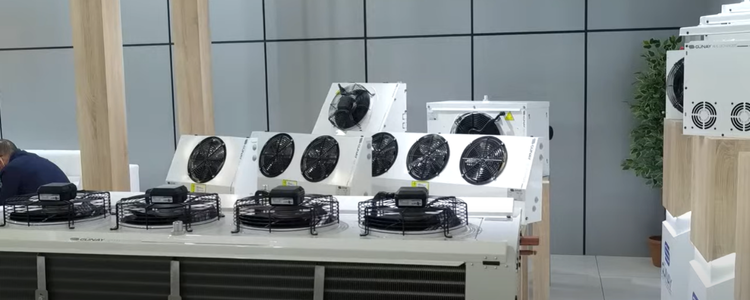
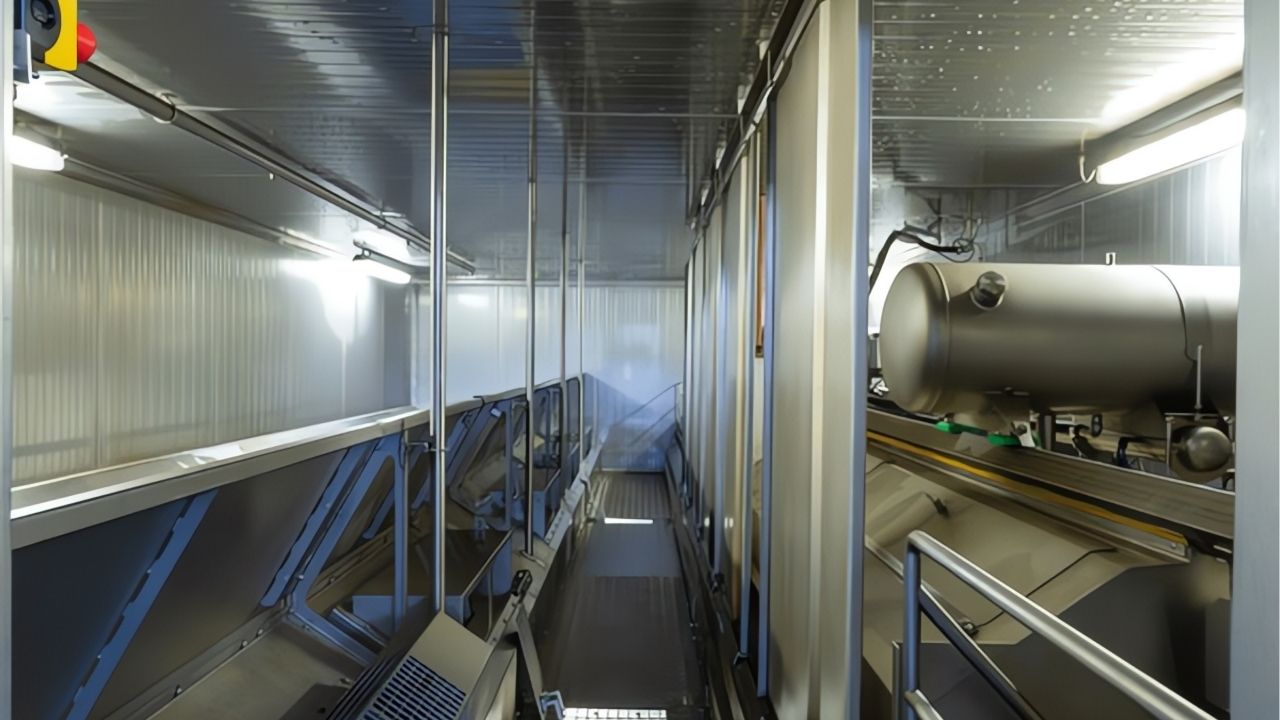
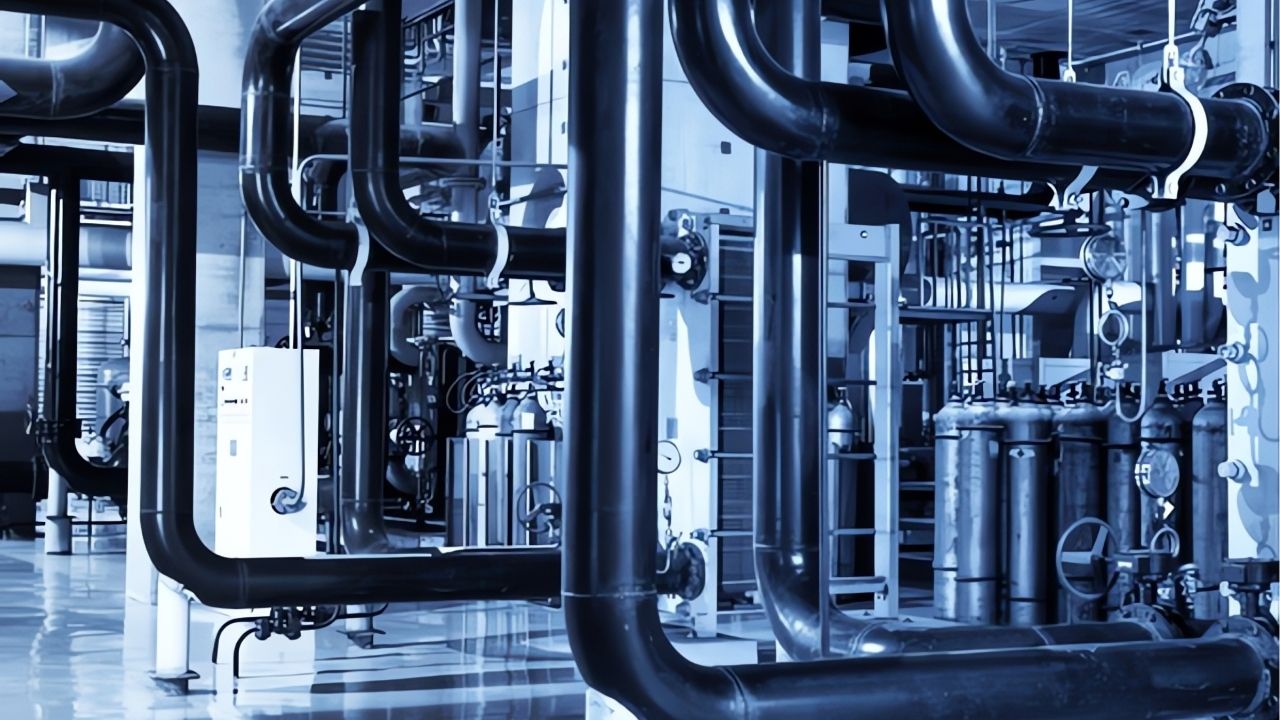
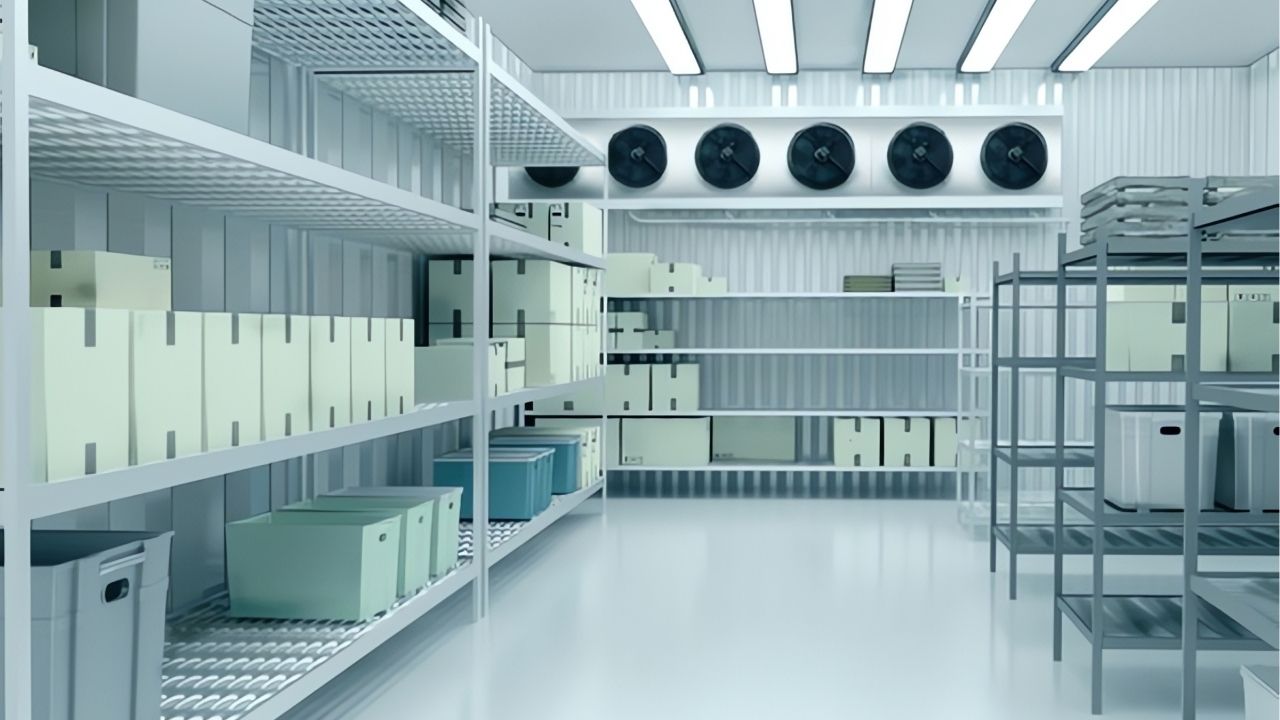
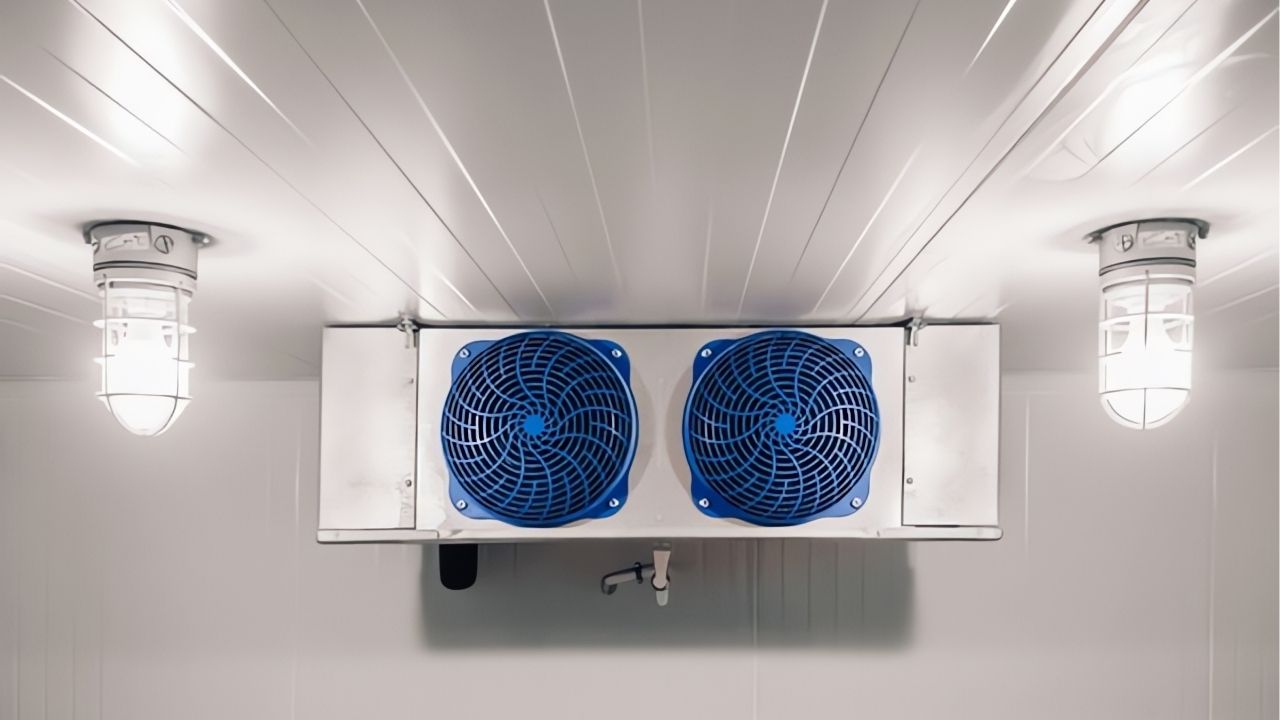
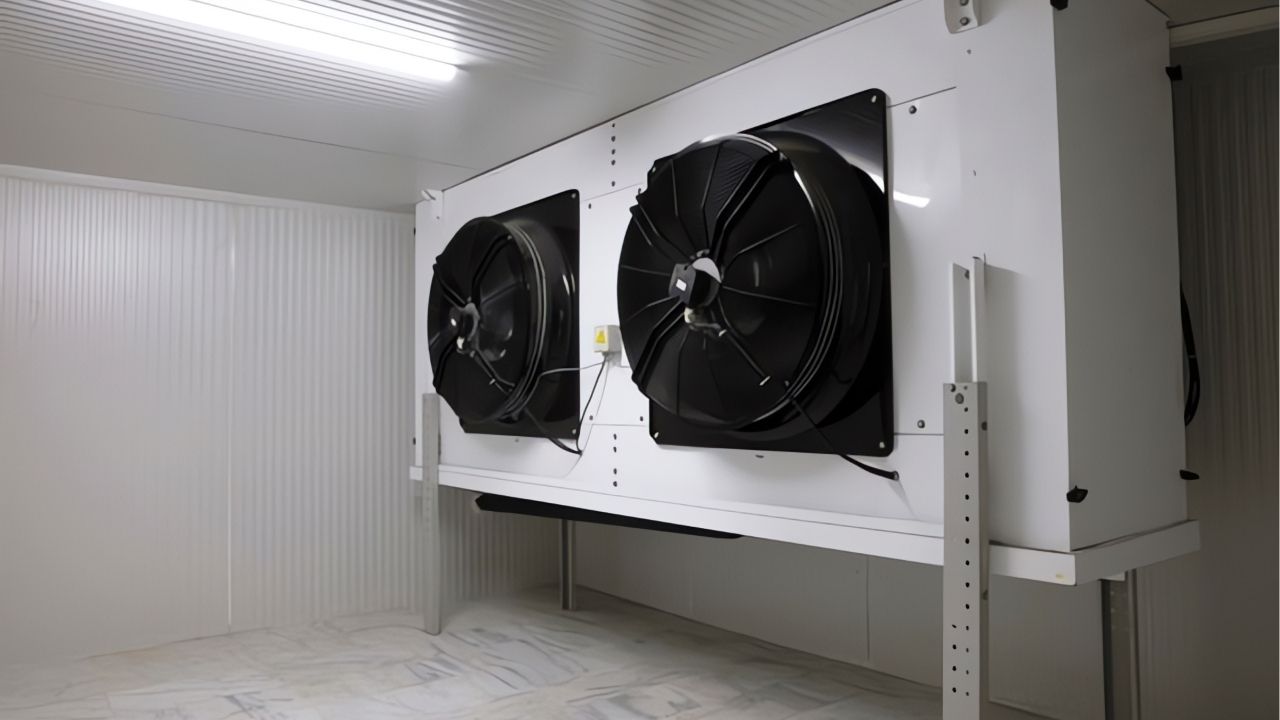
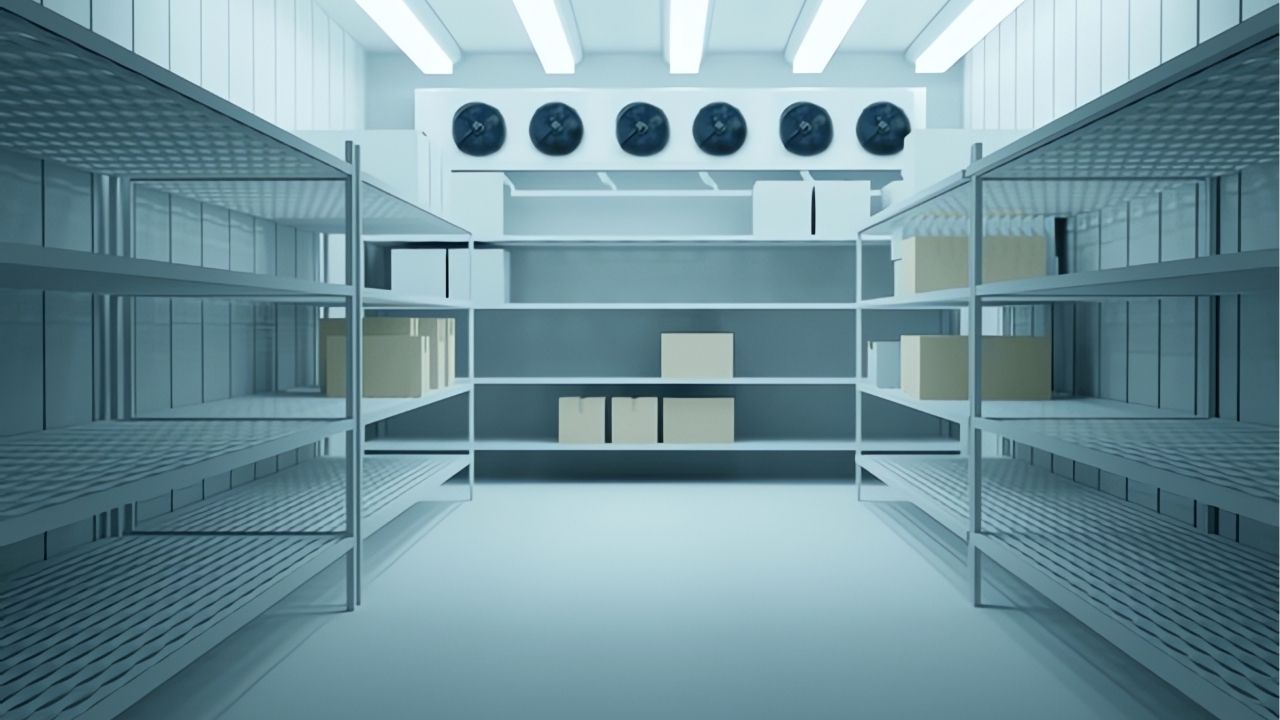
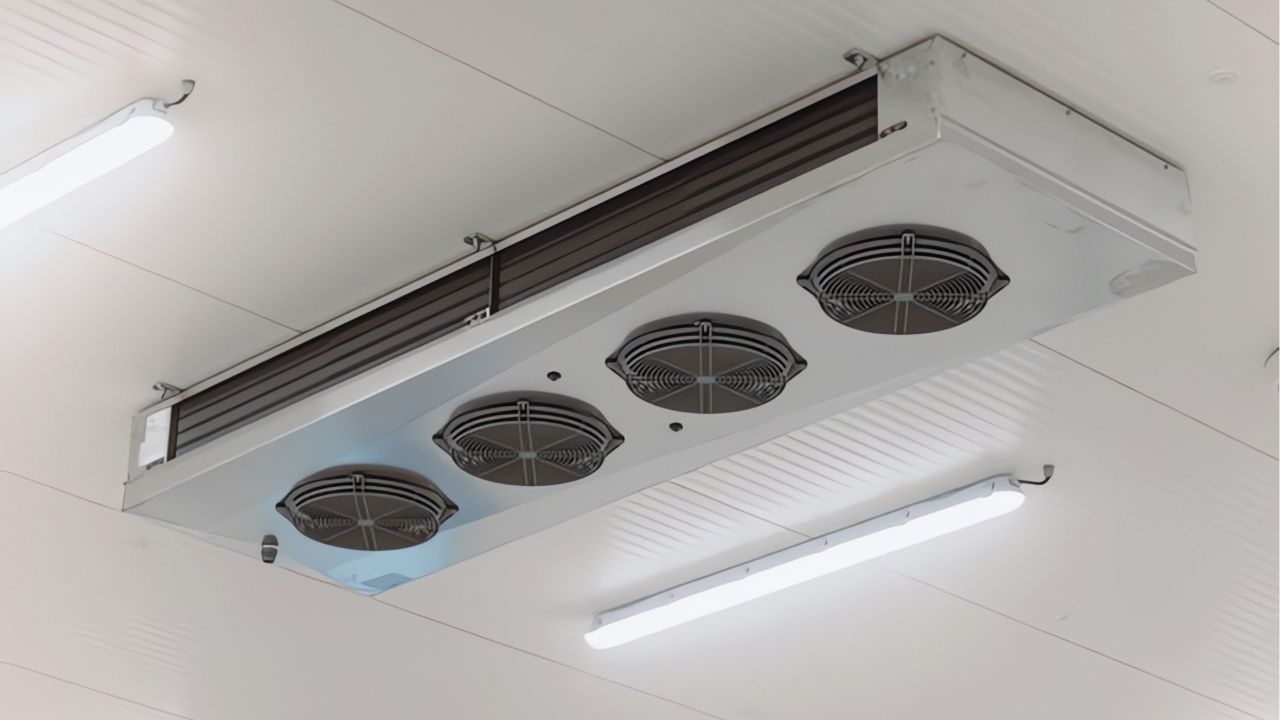
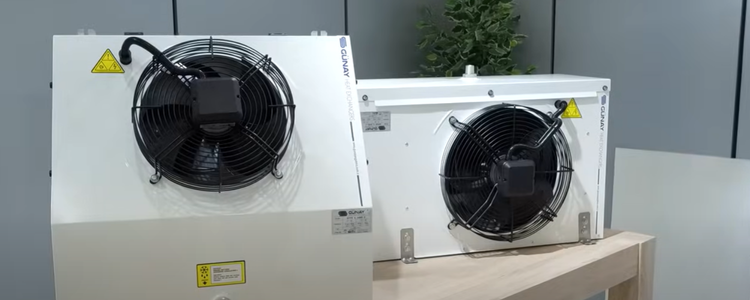
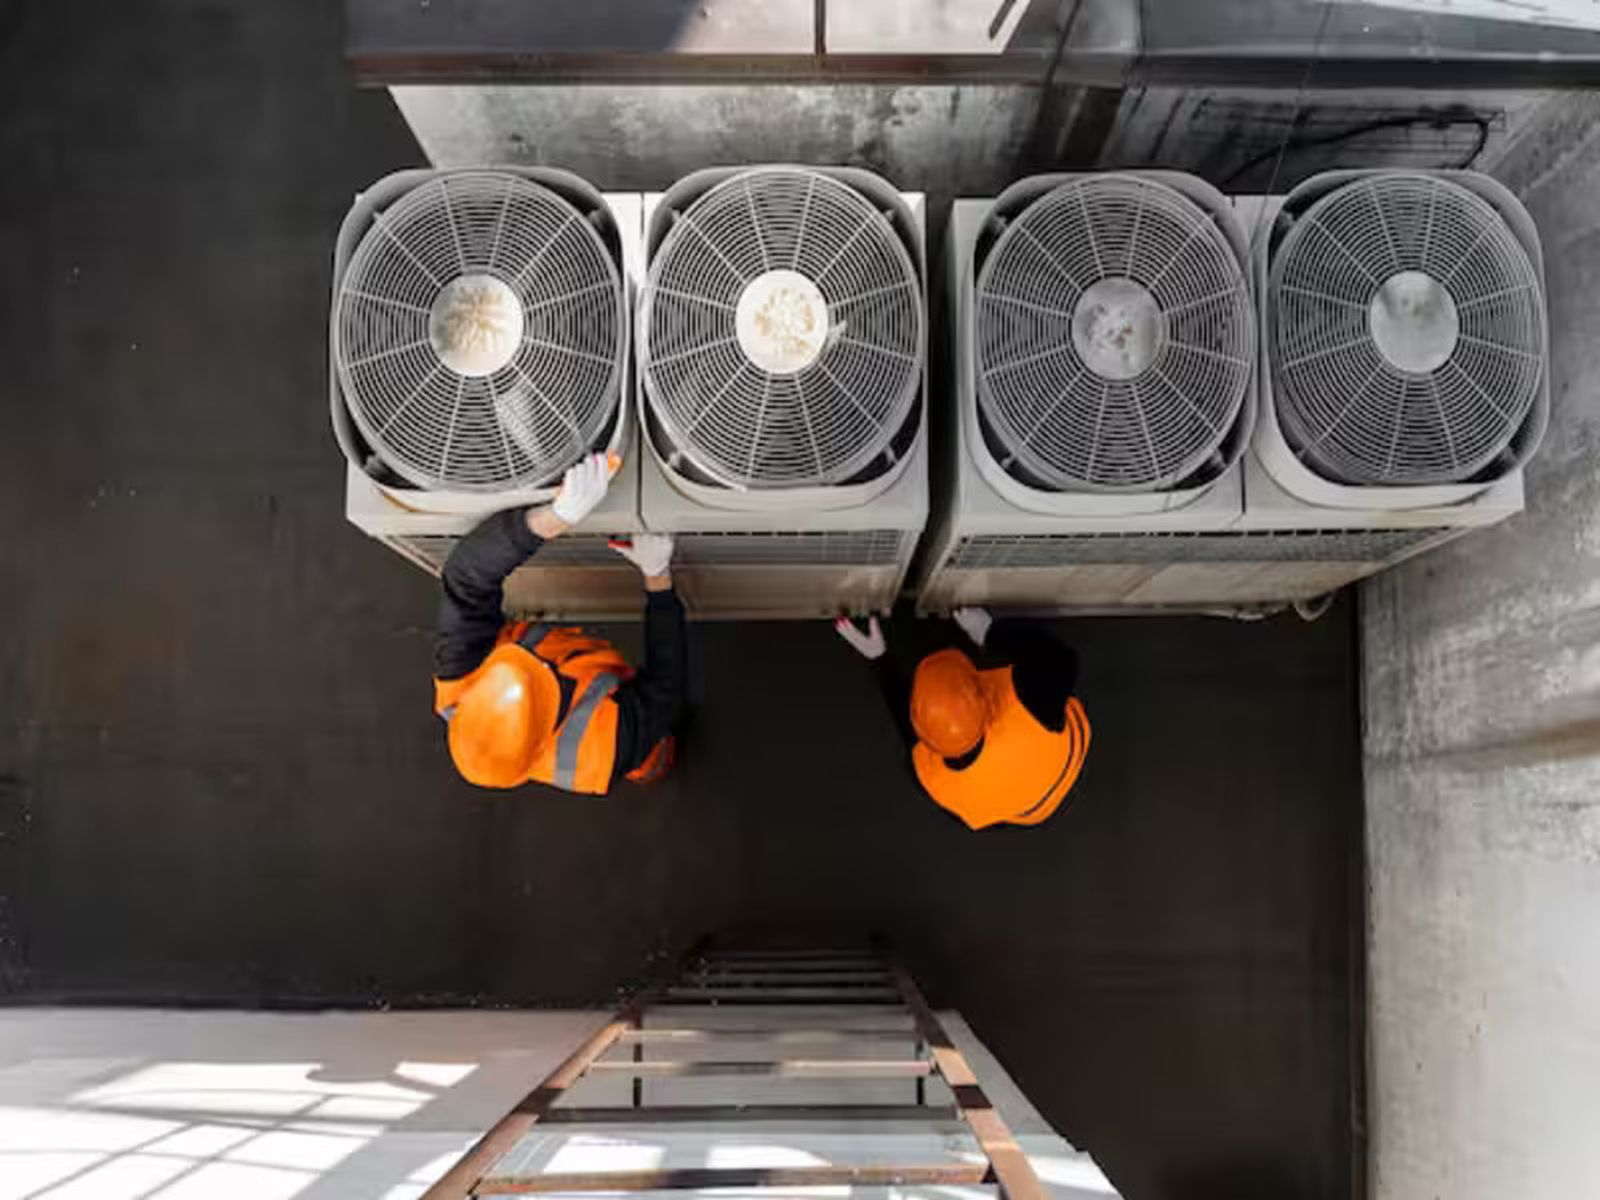
The first step is to check that the evaporator installation matches the project drawing. Position, height, slope, and air discharge direction should be compared with the project. The drain line, trap, and drain pan connections should also be verified at this stage.
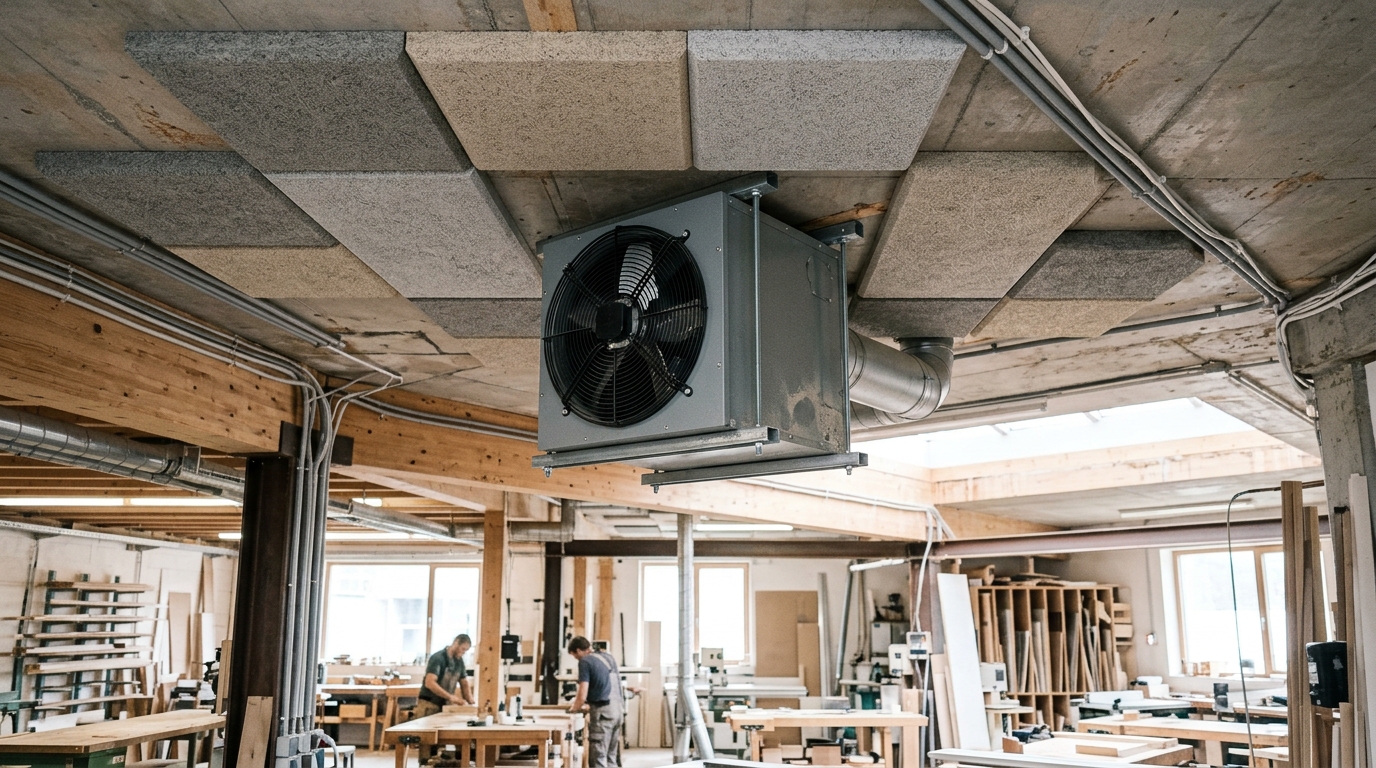
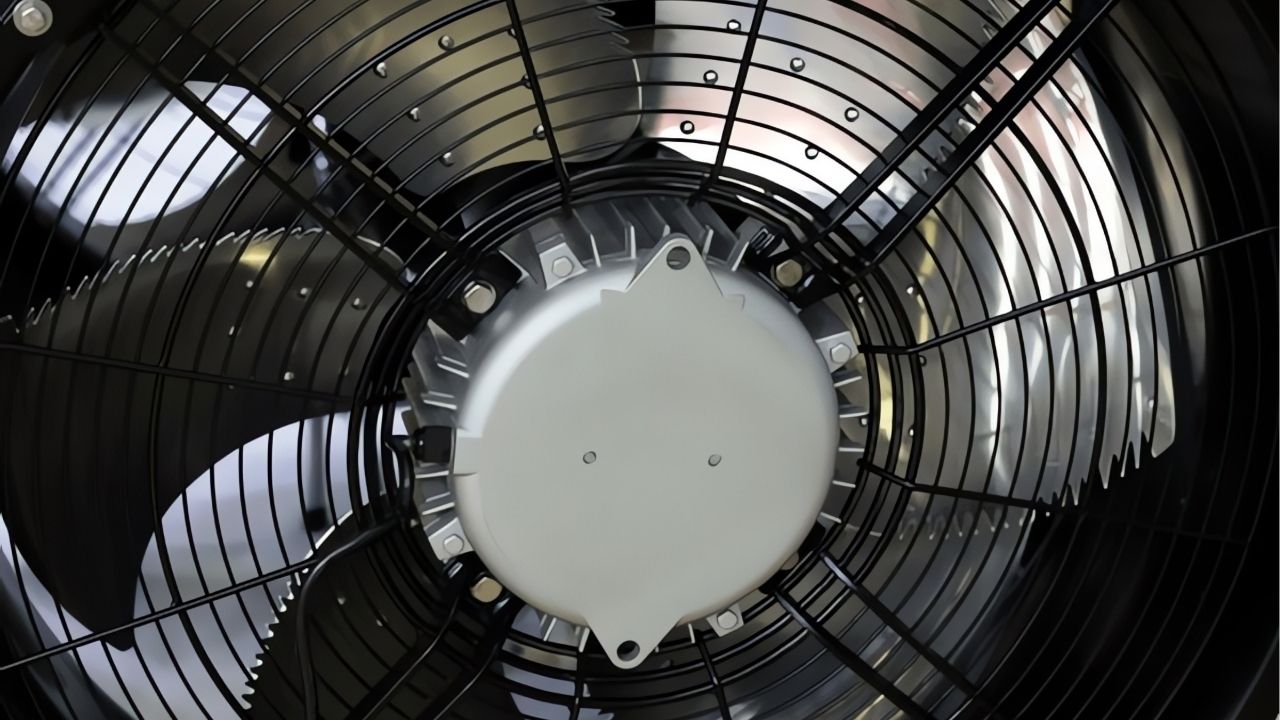
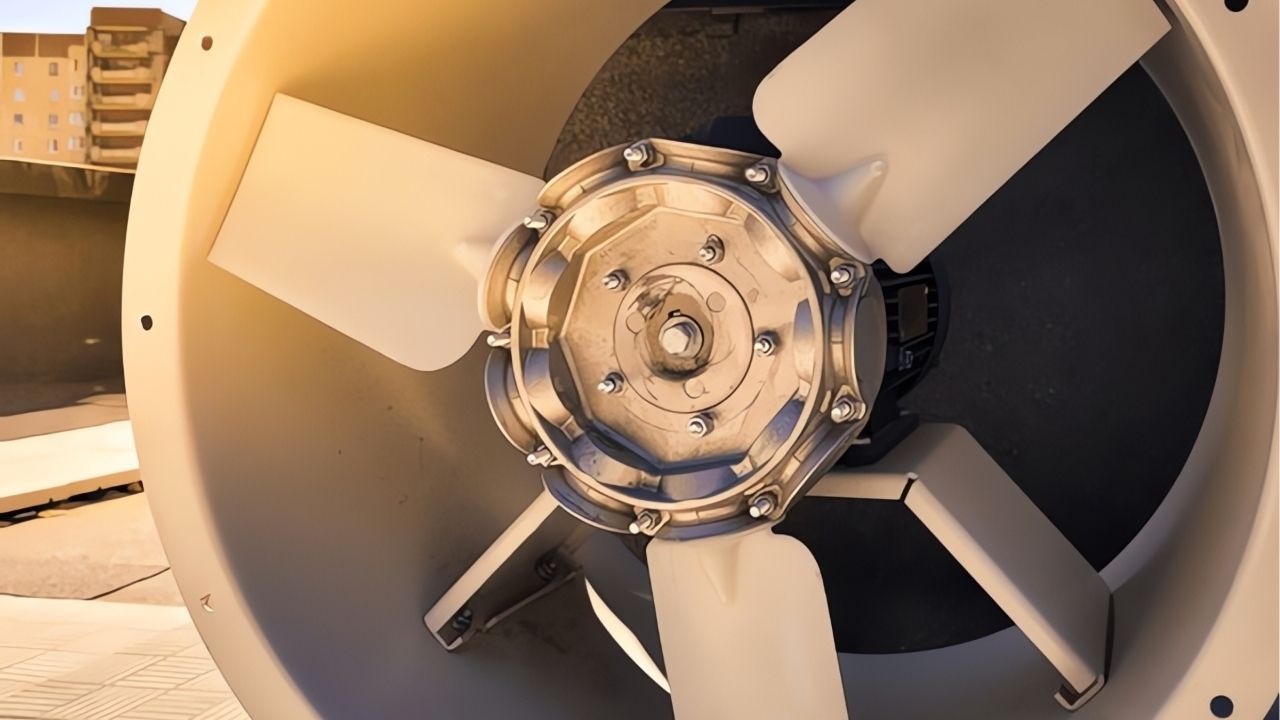
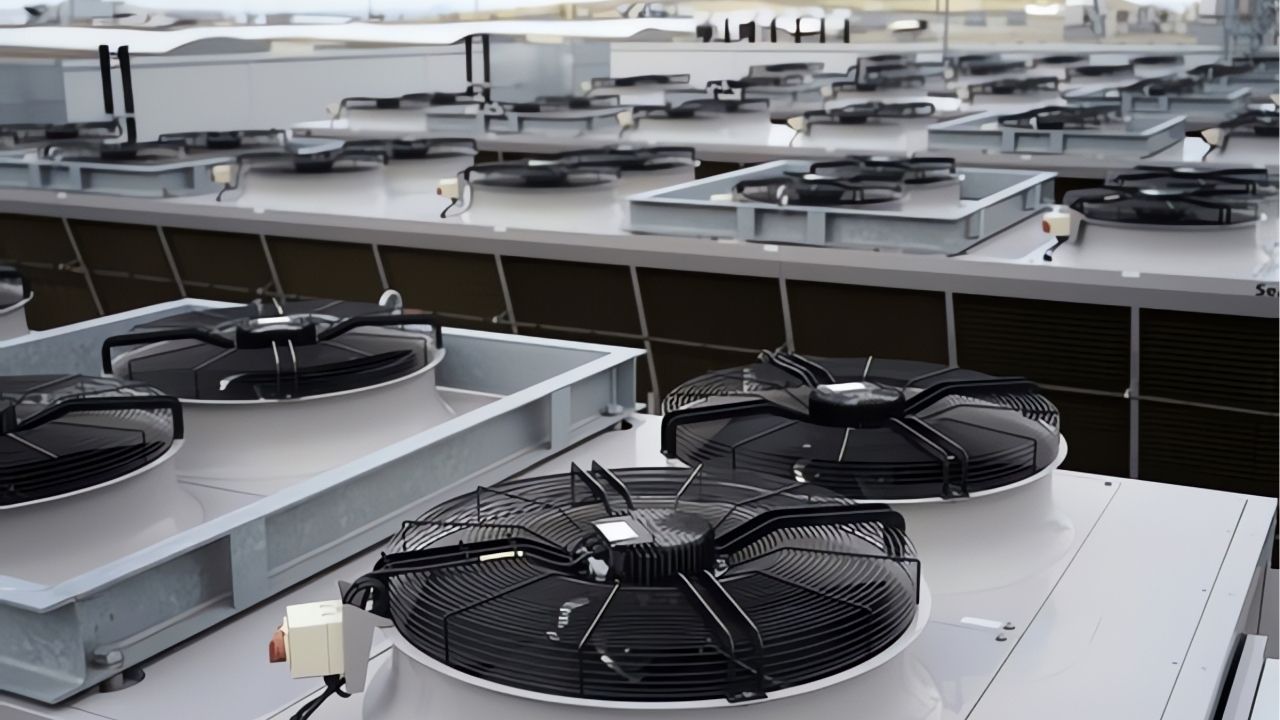
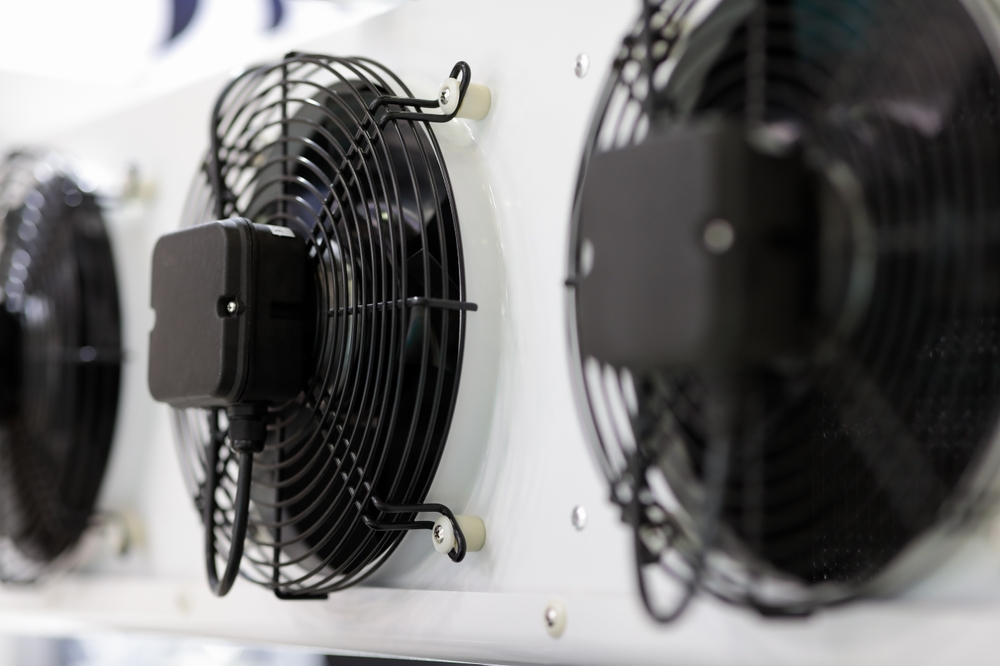
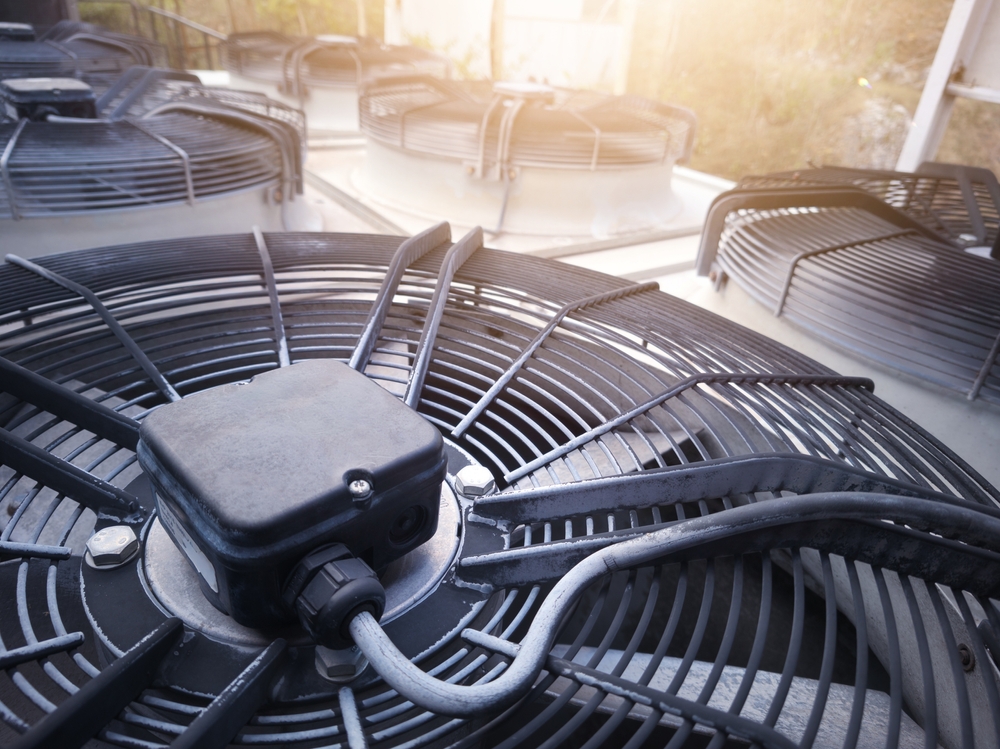
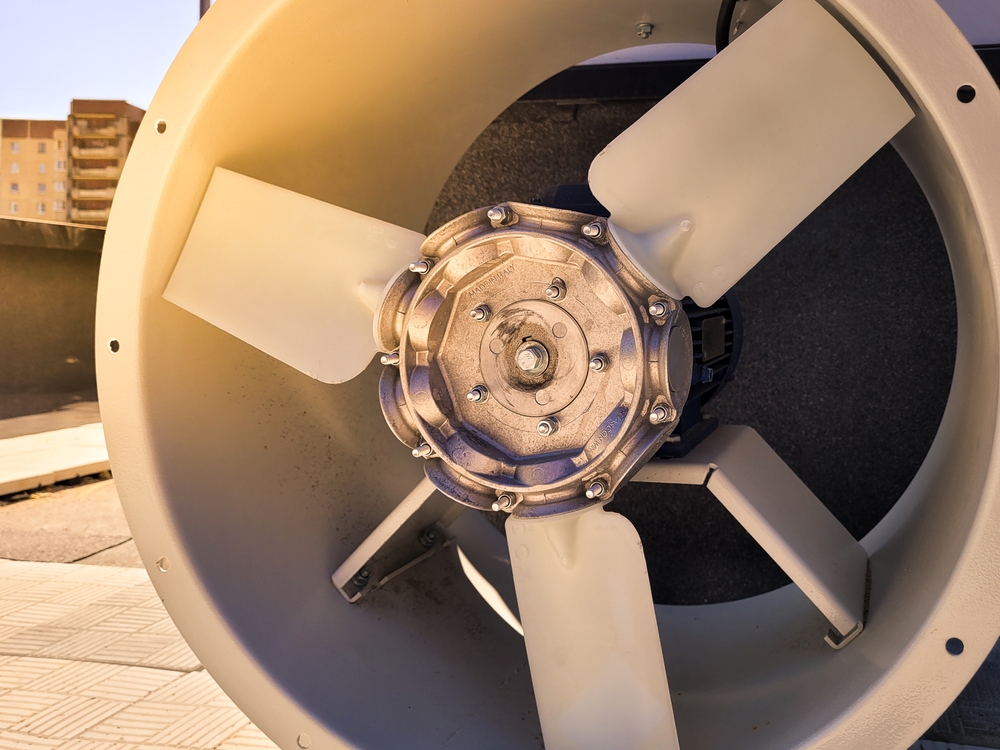
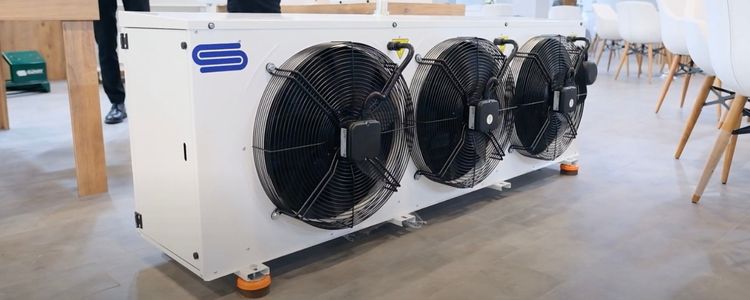
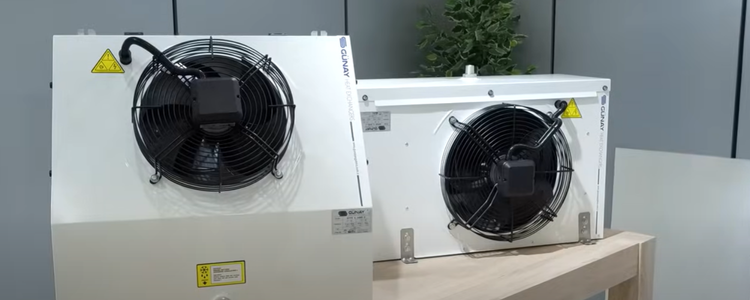
No material should block the airflow around the evaporator, and the fan propeller must be able to turn freely.
Following the project drawing is the most basic step of commissioning. The location, mounting height, slope, and air discharge direction of the evaporator should be compared one by one with the values on the drawing. Even a small deviation can affect the air distribution and the drainage behaviour.
Fixing elements should also be checked after installation. Loose connections that can vibrate eventually cause damage to the fins and the pipework. It should be seen that the weight is carried by the supports and that the bolts are tightened to the specified torque.
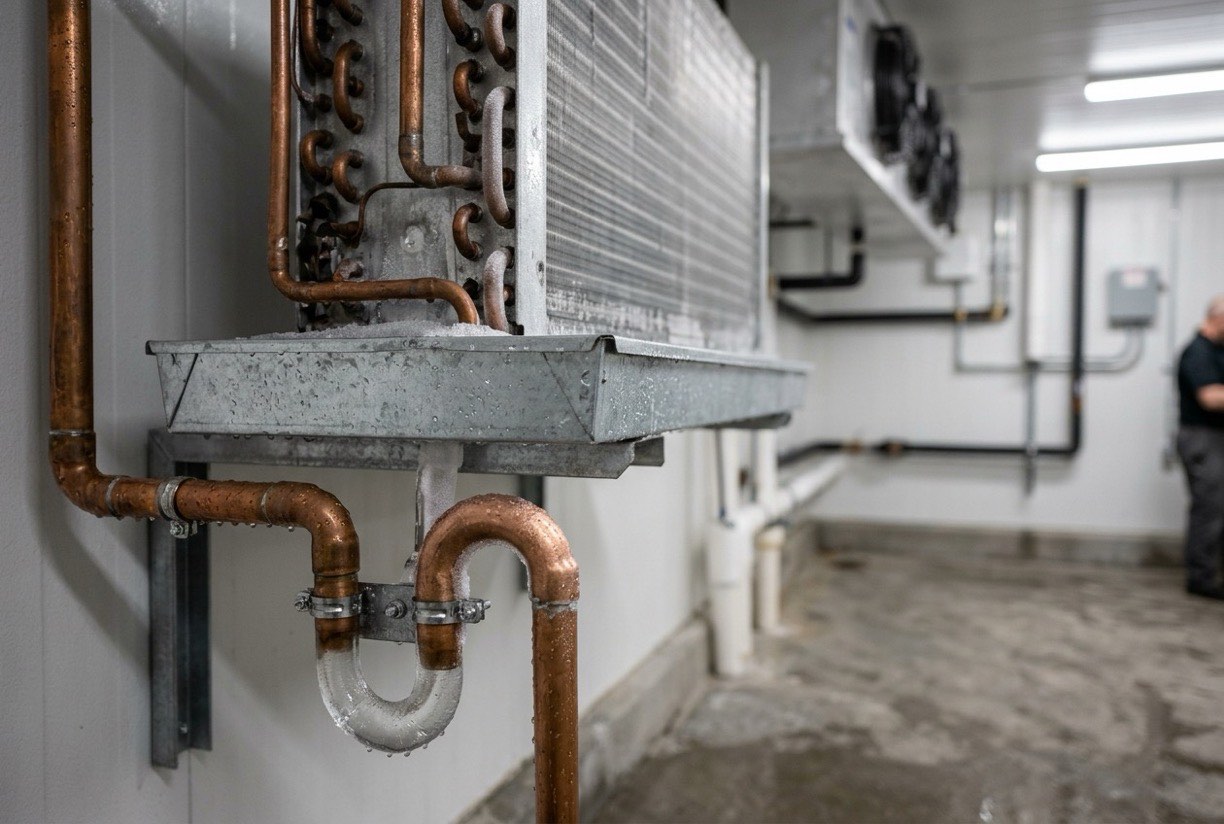
On the drainage side, the slope of the drain line, the filling level of the trap, and the position of the drain pan should be considered together. For the water to flow by gravity, the line must be laid at the required slope. Water pooling under the pan or a trap that stays dry is among the first problems seen at commissioning.
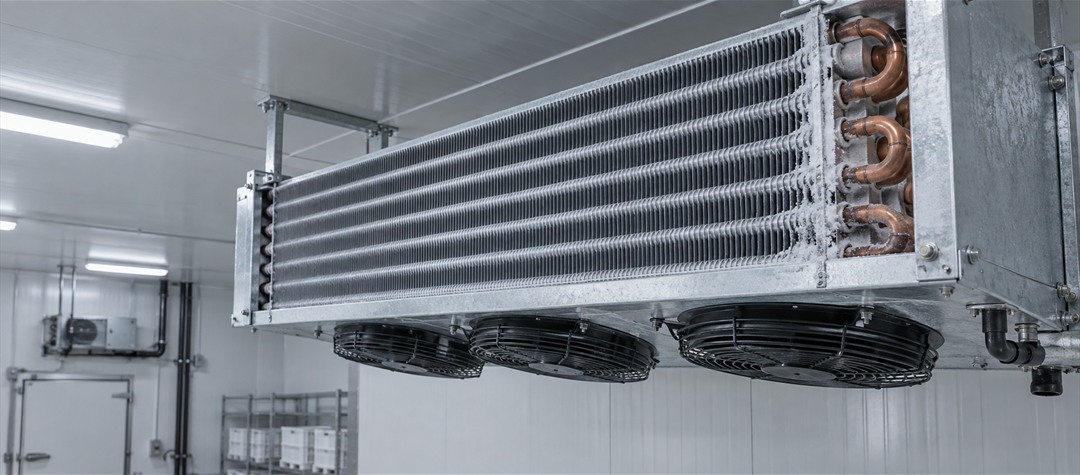
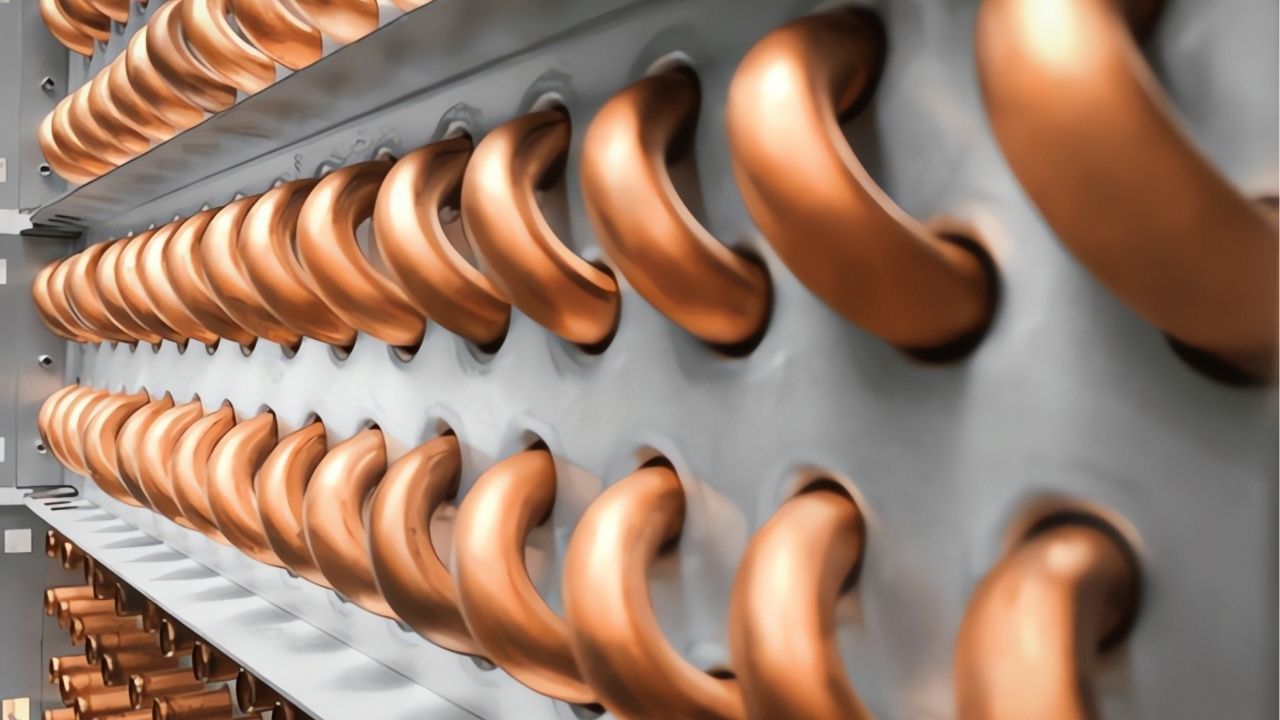
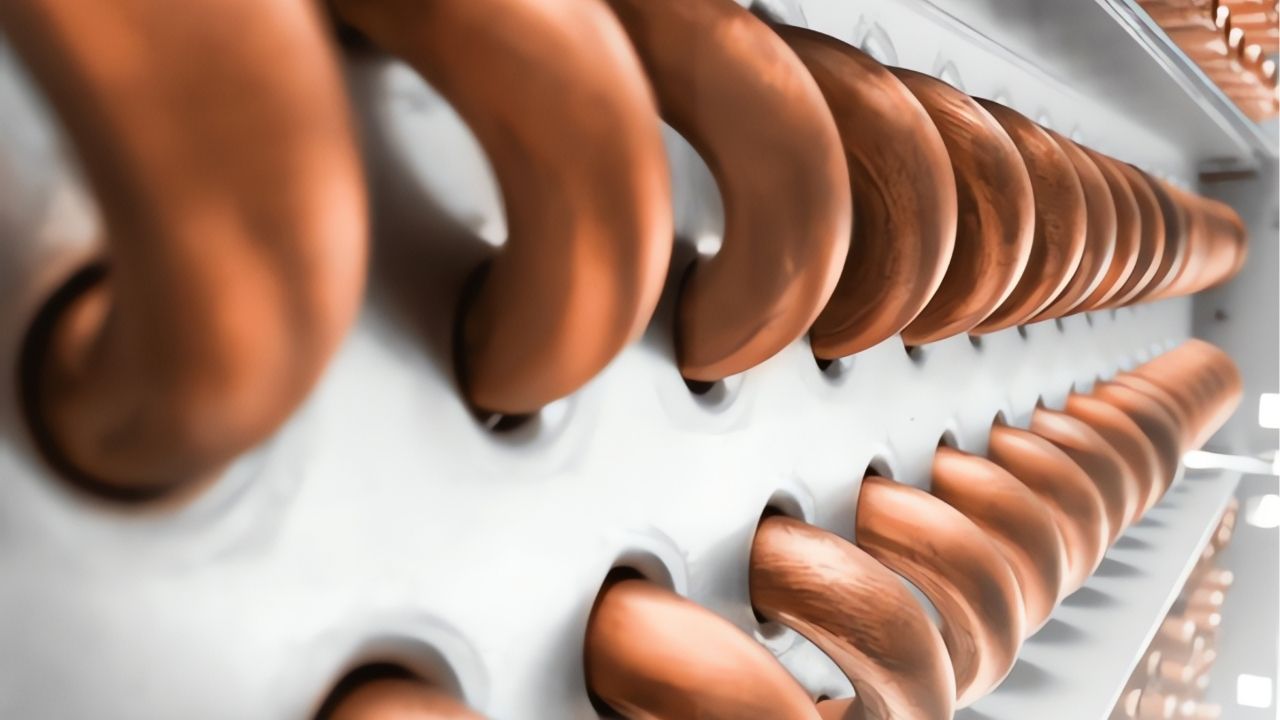
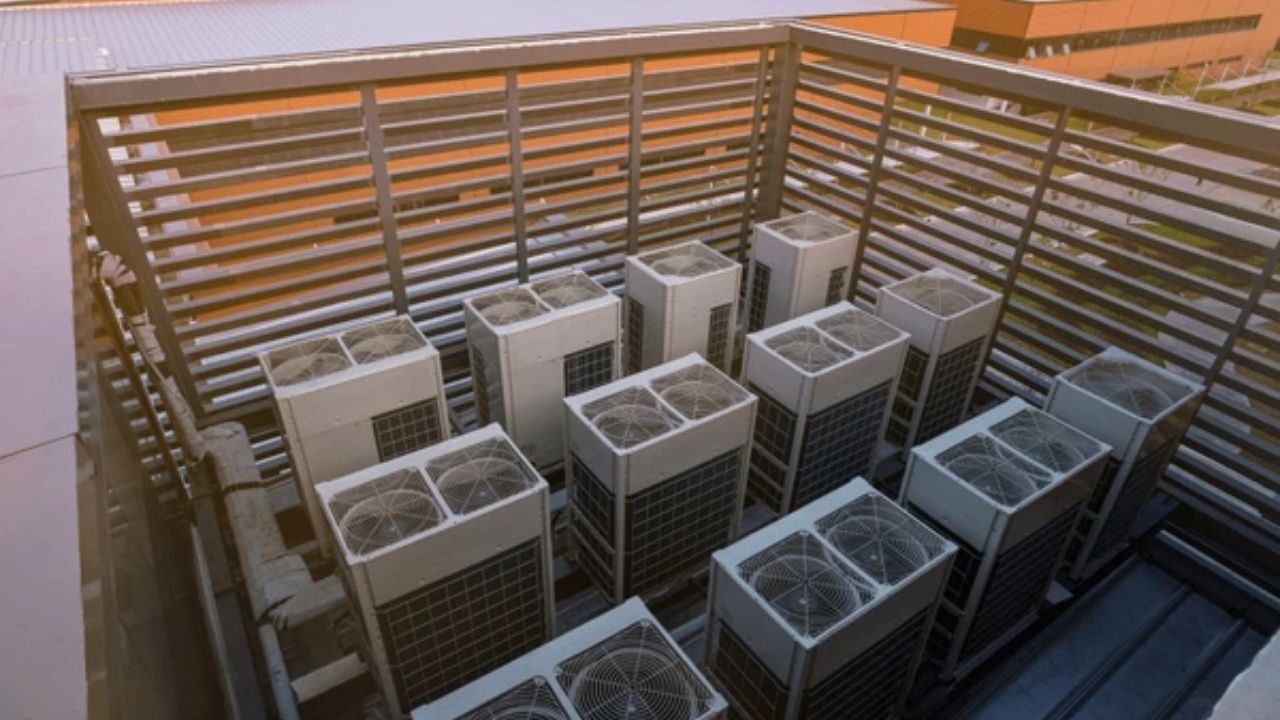
Construction and installation debris around the evaporator must also be cleared. Chips, paint drops or plastic parts stuck in the fins restrict the airflow and can lead to wrong readings at the first start-up. Power should not be applied until cleaning is complete.
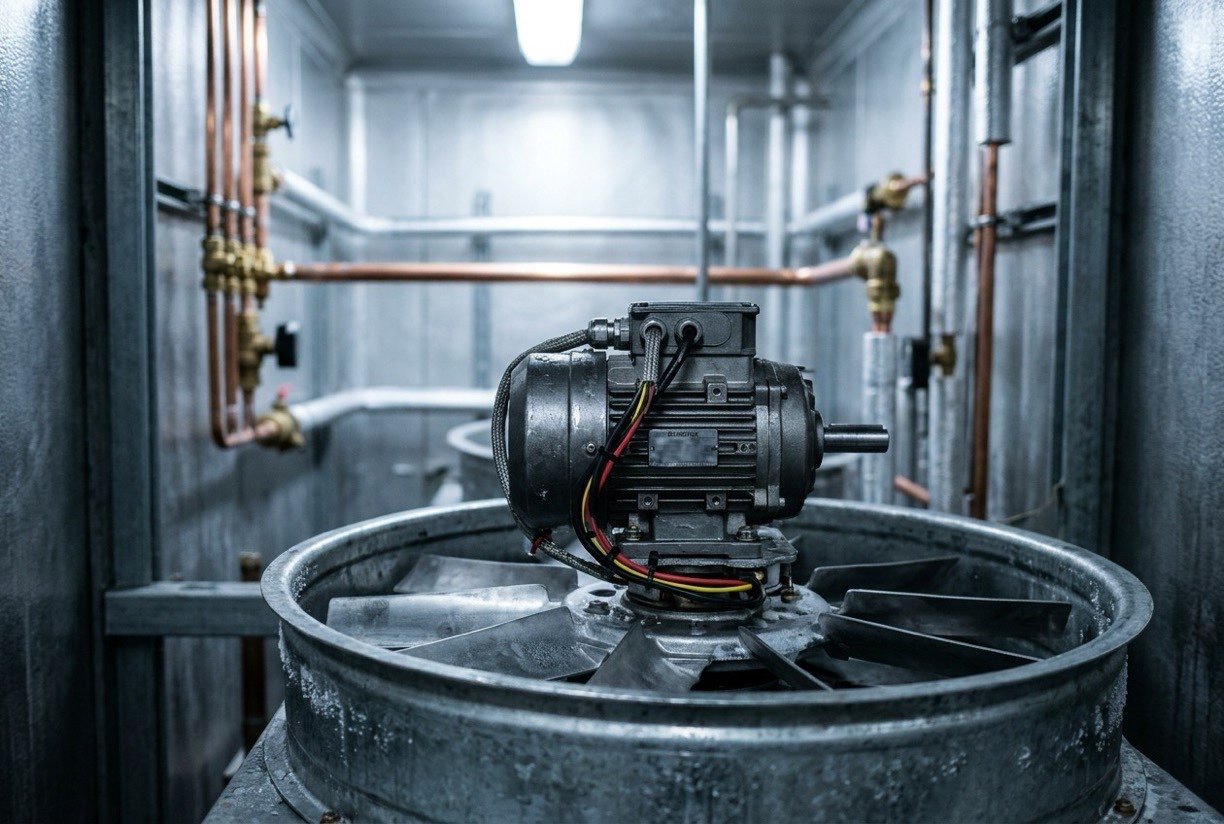
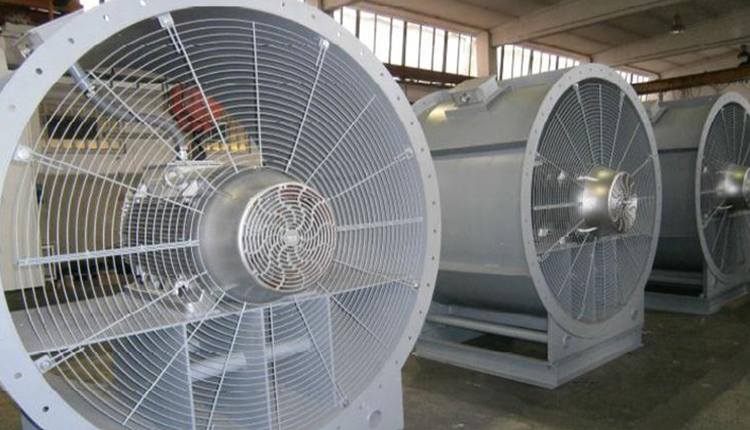
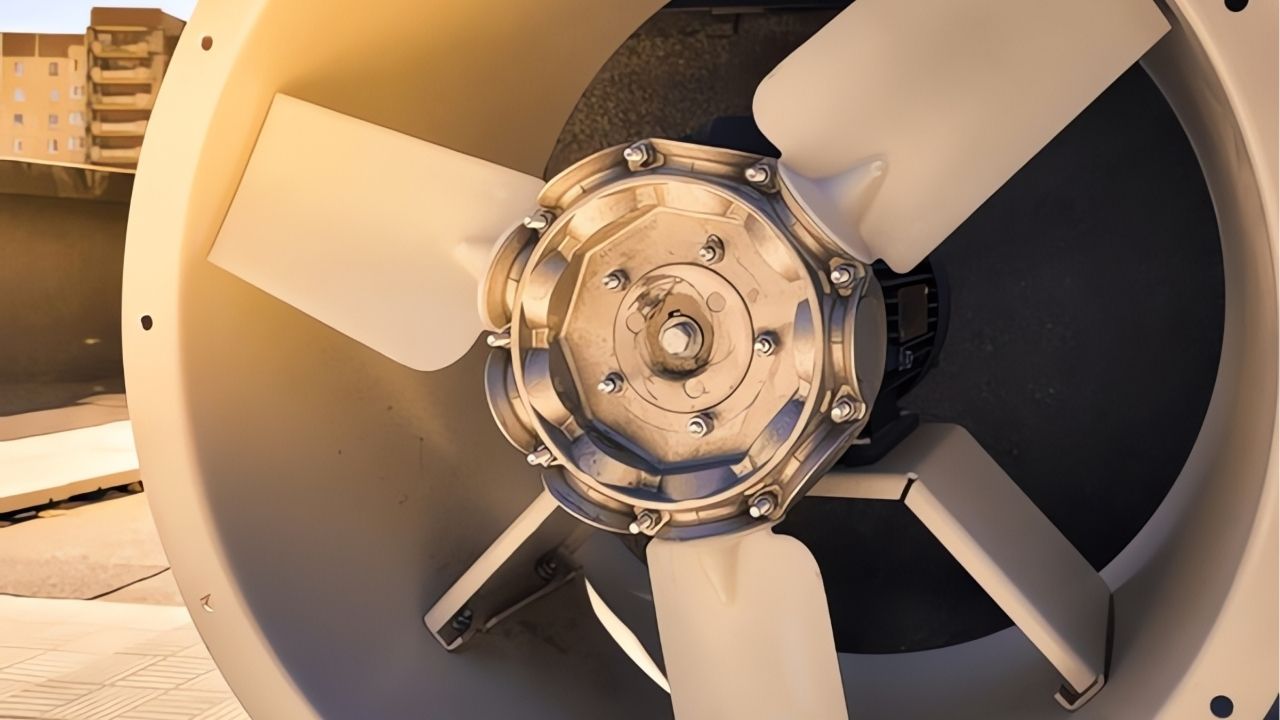
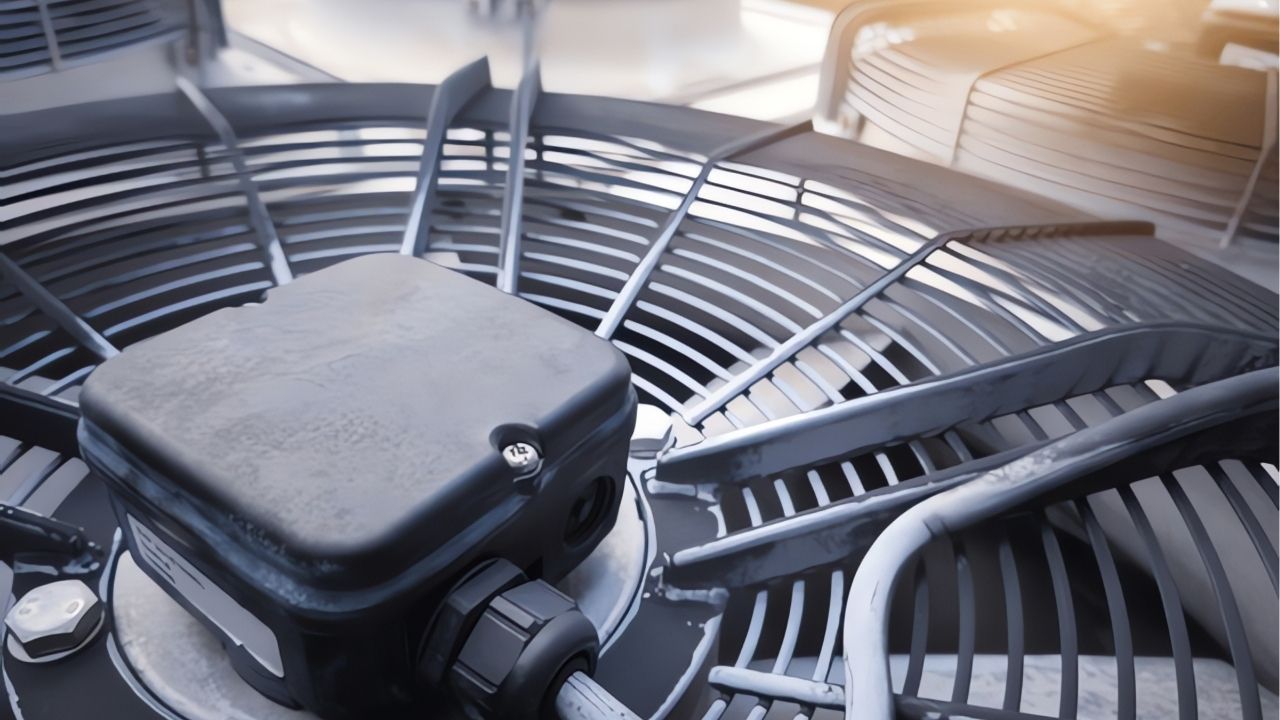
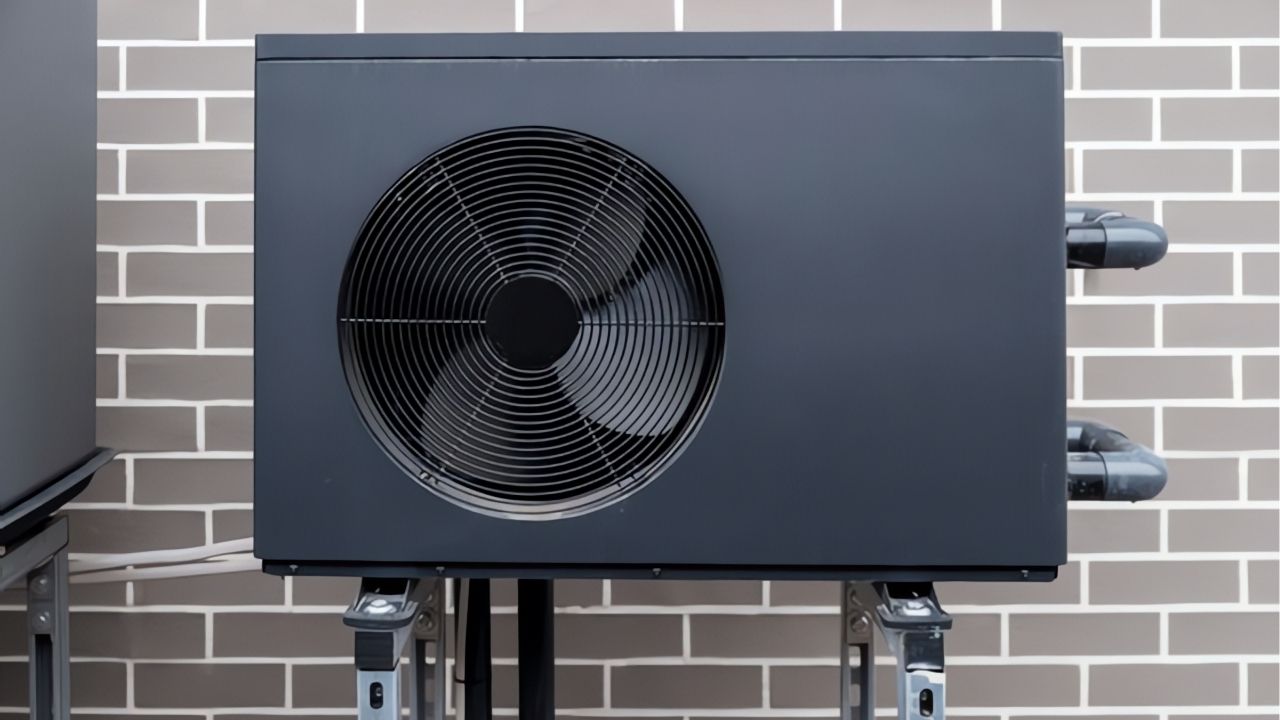
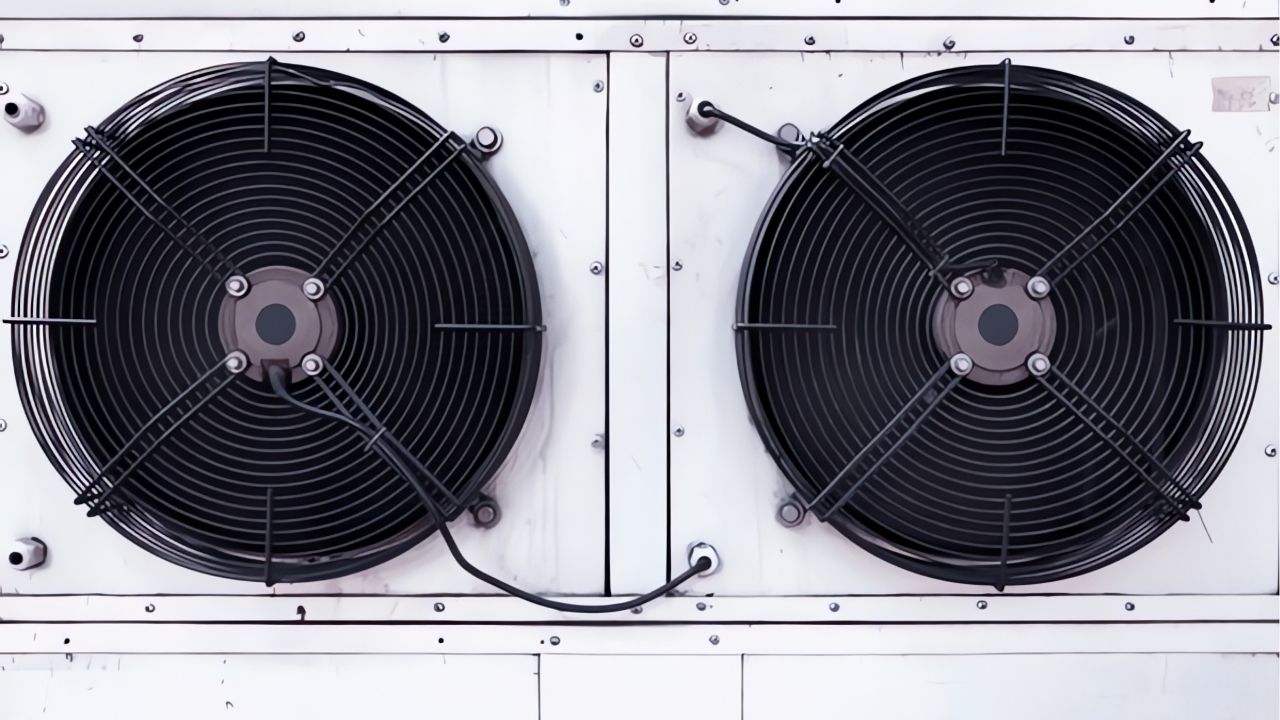
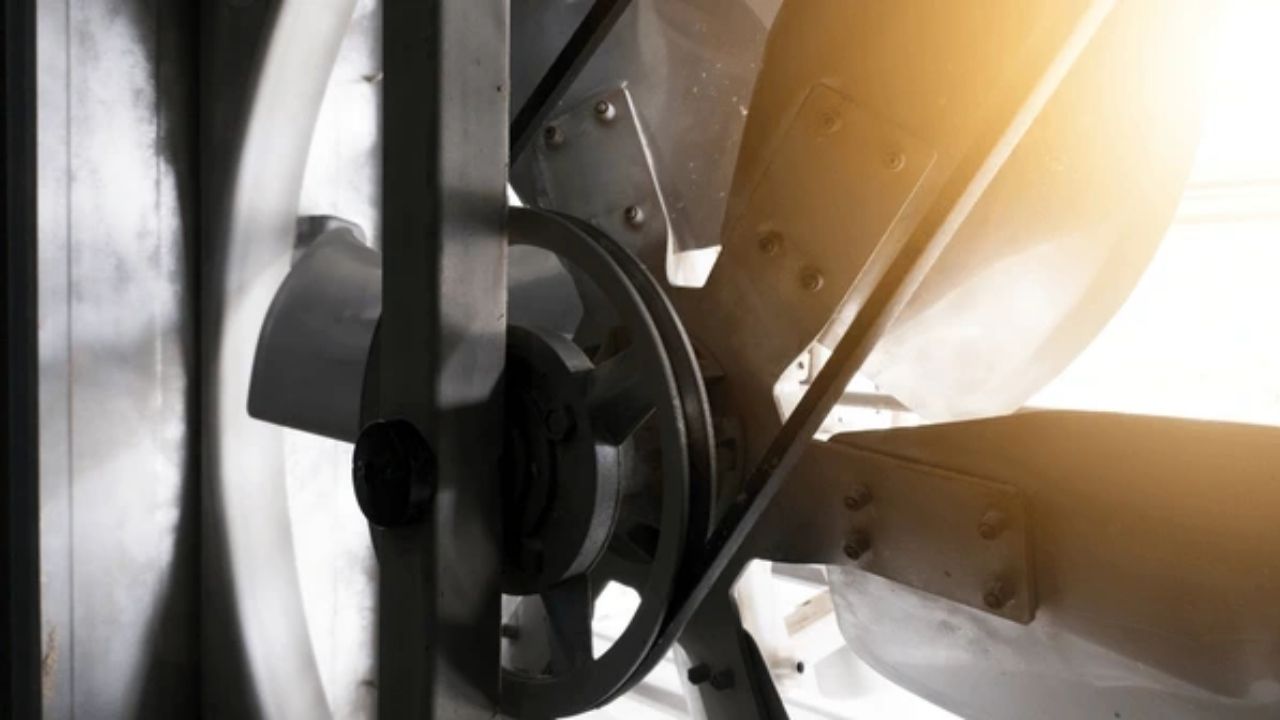
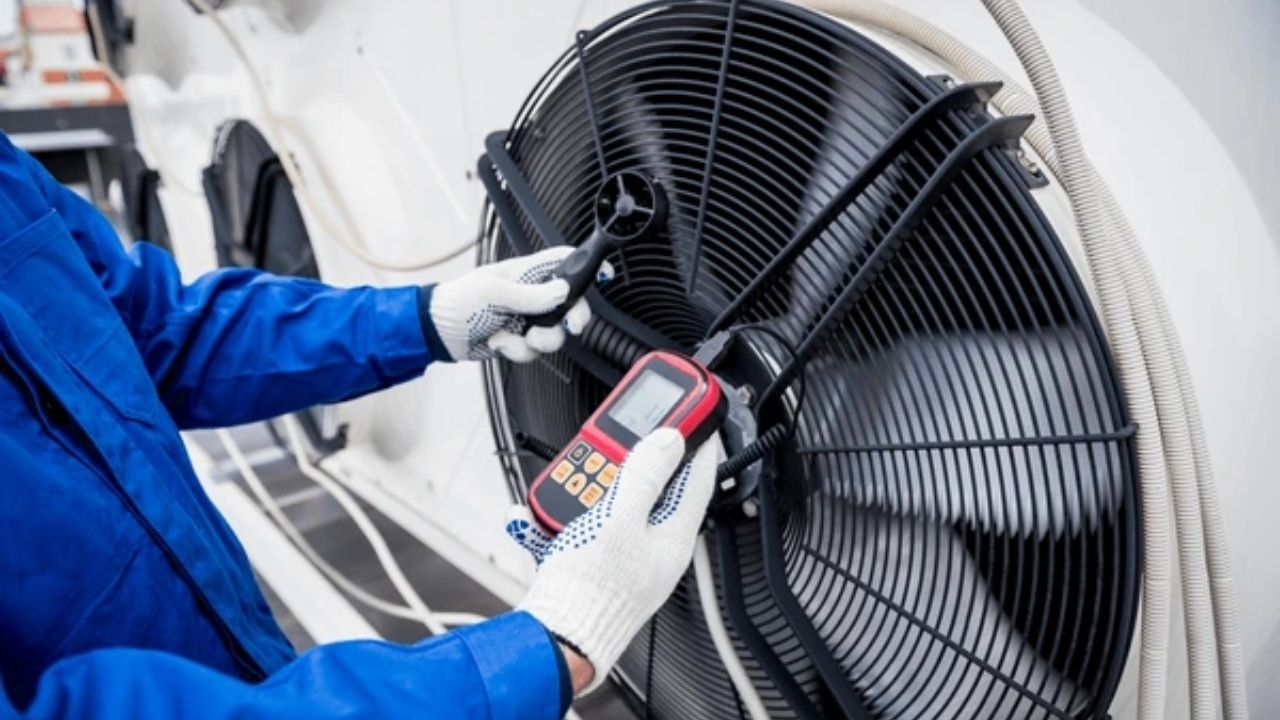
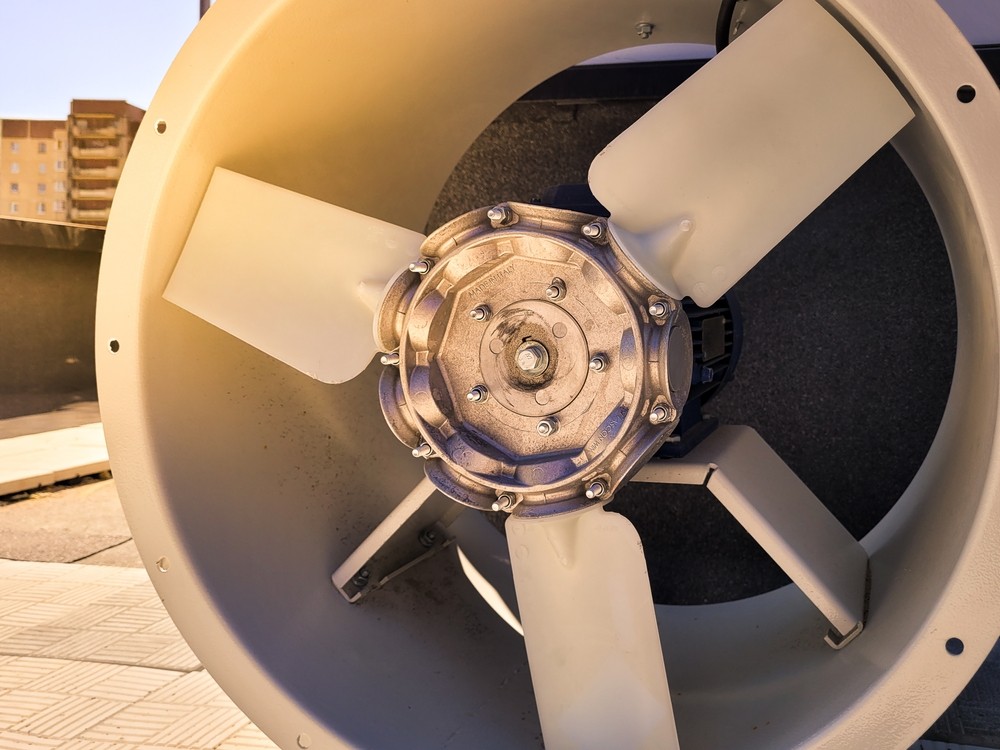
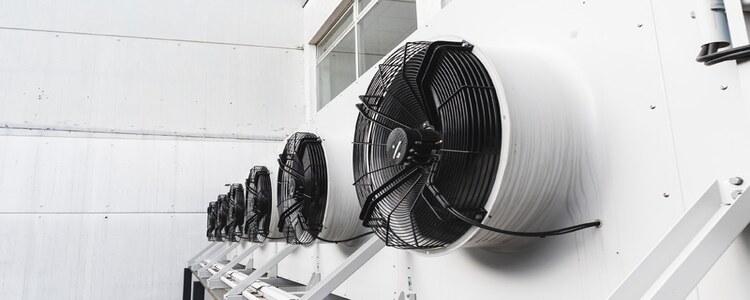
Nothing should block the airflow around the evaporator, and the fan propeller must be free to turn. It should be checked whether the propeller rubs against the housing and whether it turns smoothly by hand. This check is one of the simplest and most valuable steps to complete before energising.
Heat sources near the evaporator should also be considered. A nearby heat source can affect the control sensor and lead to misleading readings. For this reason, the equipment around the evaporator should be reviewed together with its placement.
How Are Electrical And Fan Checks Carried Out?
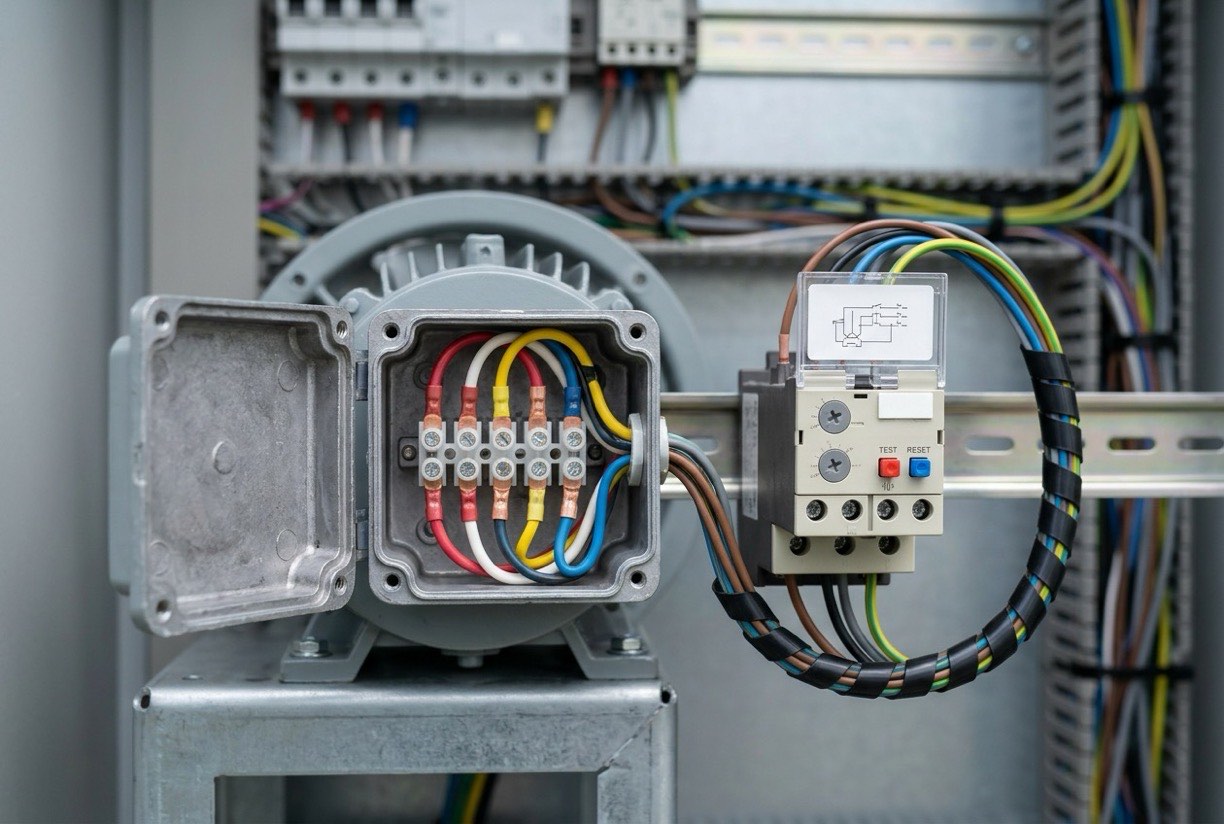
Electrical connections, supply voltage, and phases should be checked. The rotation direction of the fan motor should be verified before and after energising. A wrong rotation direction reverses the airflow and reduces capacity.
- Supply voltage: Compare it with the values on the nameplate.
- Rotation direction: The fan must turn in the direction of the air discharge.
- Thermal protection: Its settings must match the motor values.
Electrical connections, supply voltage, and phases should be checked. The phase sequence and the neutral and earth connections should be verified together with the control circuit. Loose connection points cause heating during the first run and wear on the cables over time.
The sizes of contactors, fuses, and protective devices should match the motor values. When selecting these components, not only the nominal value but also the starting current and the continuous operating condition should be considered. Improper sizing increases the risk of both nuisance tripping and unprotected operation.
The rotation direction of the fan motor must be verified before and after energising. A wrong rotation direction reverses the airflow and reduces capacity. In three-phase motors, swapping two phases causes this problem and can damage the motor. The rotation direction should be confirmed with a brief energising and by observing the flow direction.
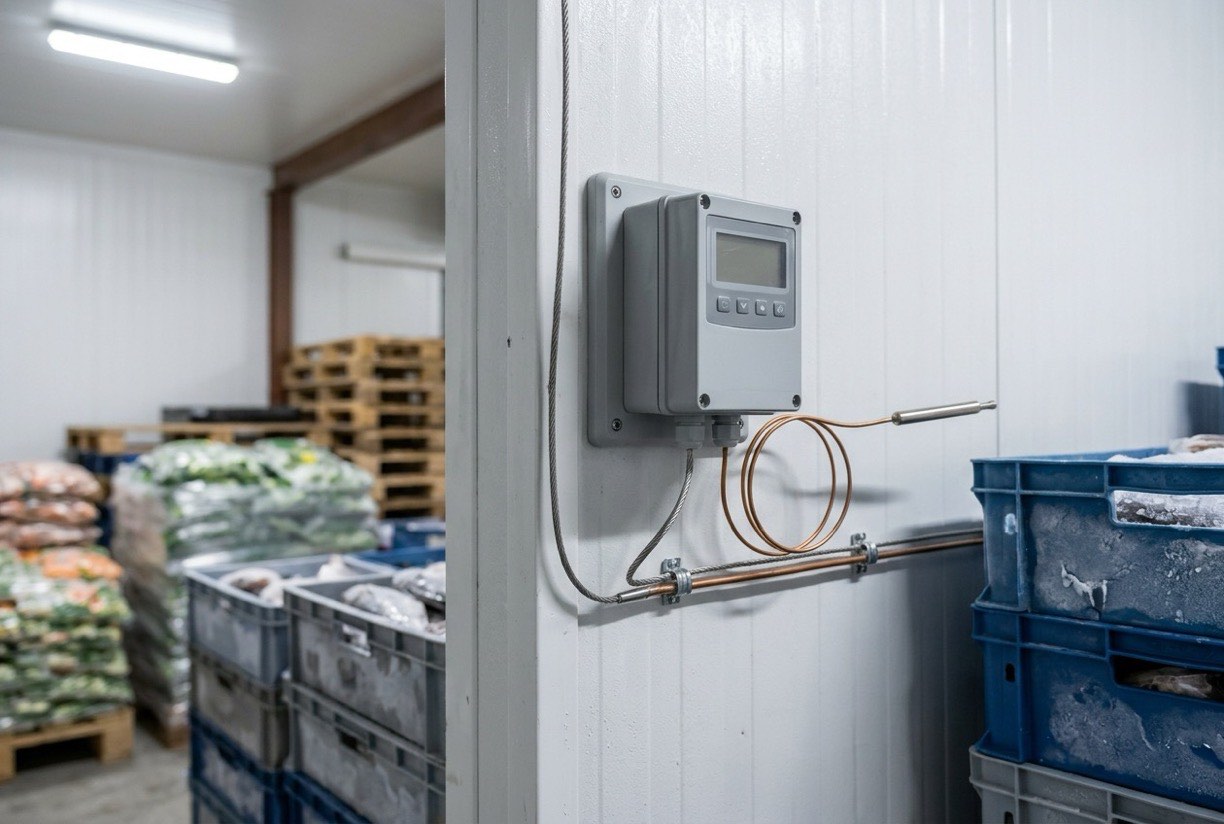
The connections of the control board and the control card should also be checked at this stage. Sensor, thermostat, and defrost signals must be connected to the correct terminals. Wiring that matches the connection diagram exactly makes later fault diagnosis much easier.
Earthing is essential for electrical safety. The metal housing of the evaporator and fan should be connected to a suitable earth conductor. Commissioning should not be considered complete until the earthing has been checked.
Sensor and control cables should be routed away from the power lines. Signal cables running close to a power cable can give wrong readings because of electrical noise. The cable route should be confirmed visually before commissioning.
How Are Leak And Pressure Checks Carried Out?
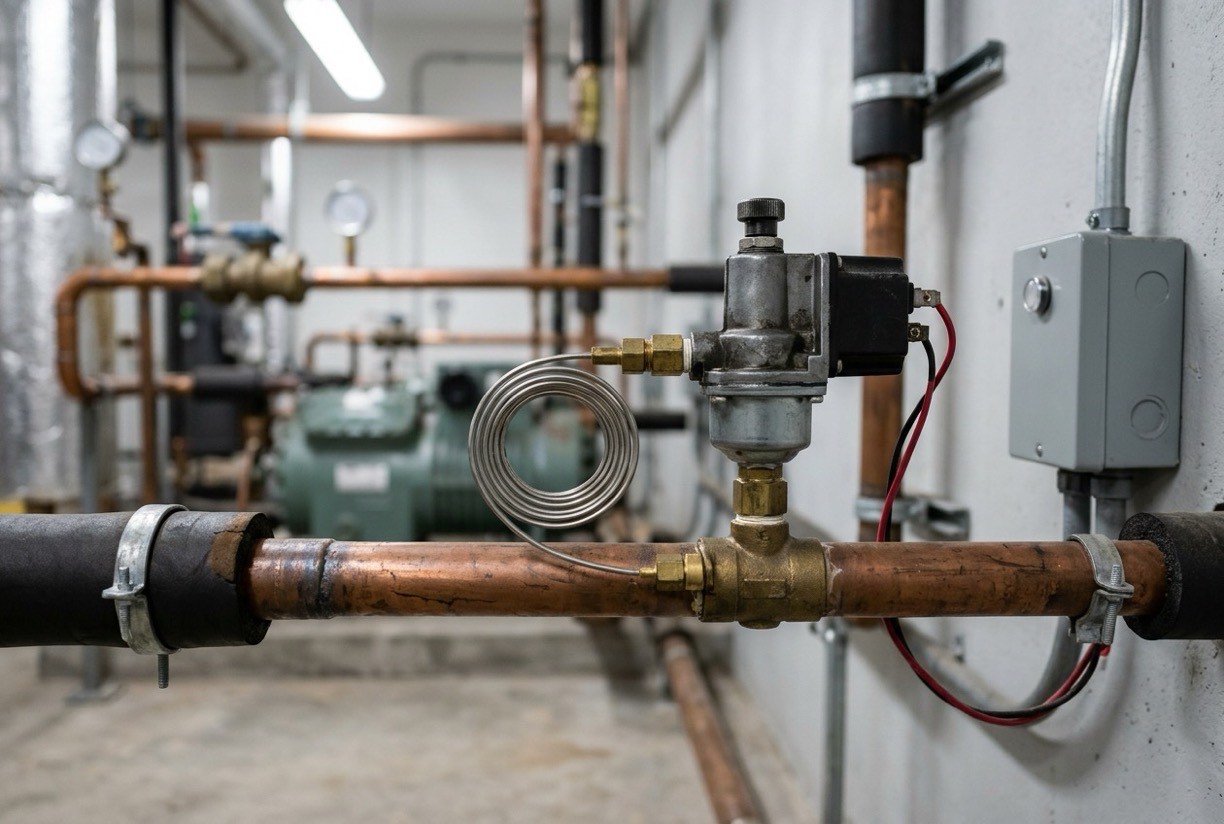
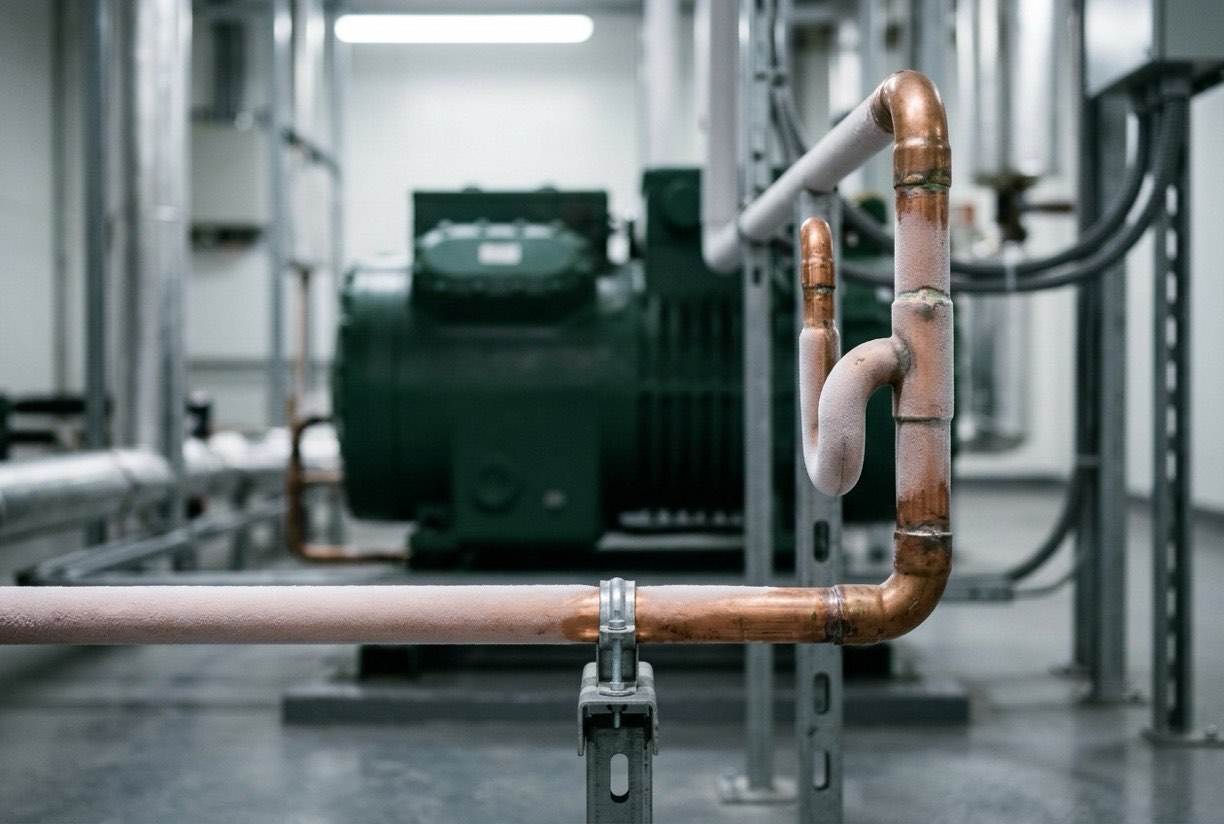
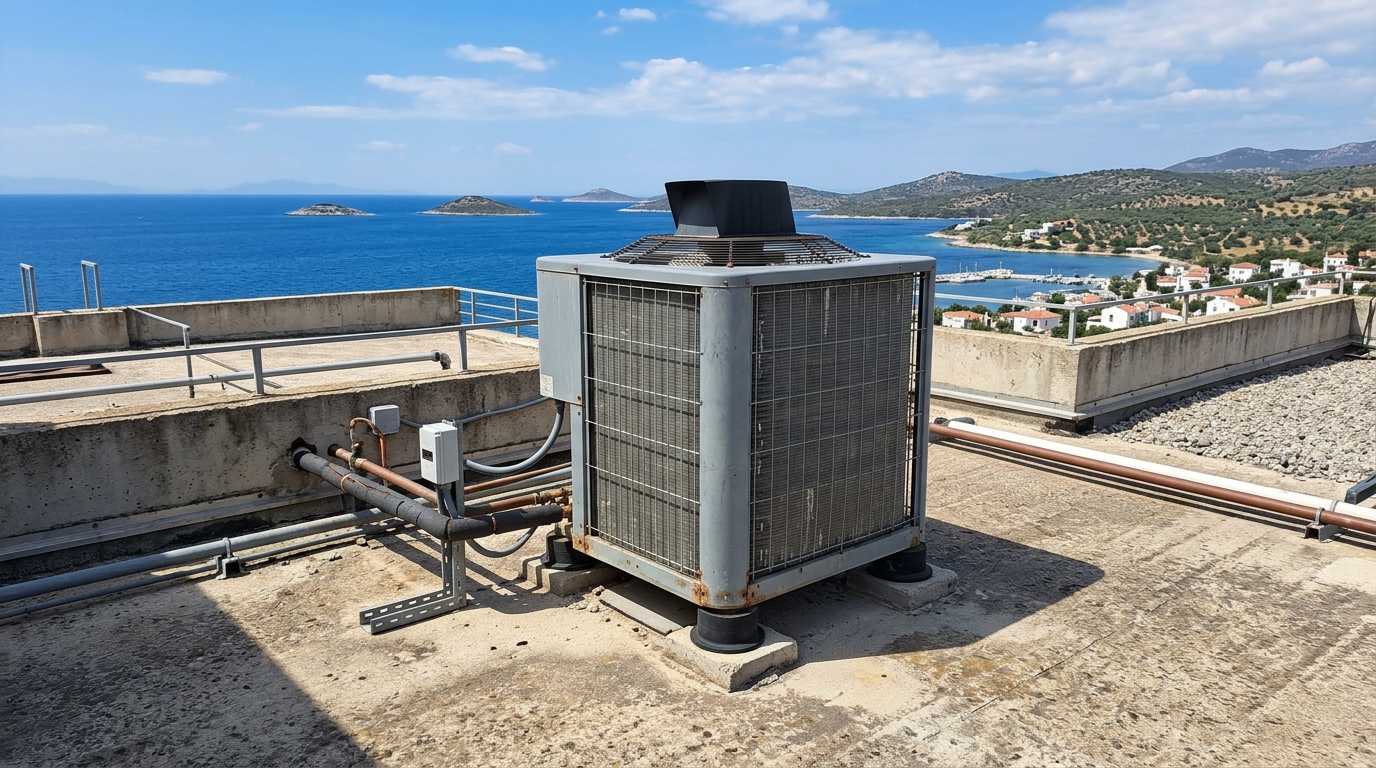
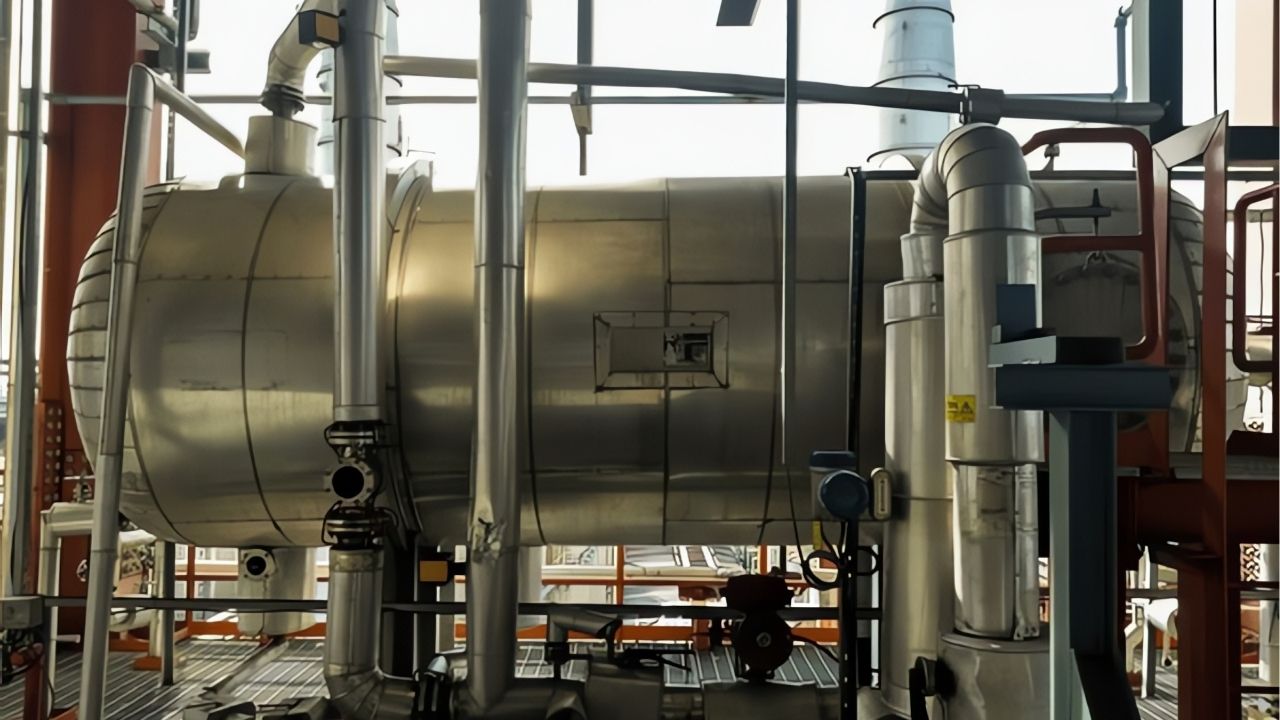
Before commissioning, the refrigeration circuit should be checked for leaks. Connection points, brazed joints, and service valves should be inspected and tested at the appropriate pressure. If a leak is found, the system should not be commissioned.
The method and the pressure values for the leak test should be selected according to the design data of the circuit and the refrigerant in use.
The leak check is one of the most critical steps for reliable operation of the refrigeration circuit. A small leak eventually causes a loss of refrigerant and a drop in capacity. Moving on to commissioning without a leak check can lead to much more expensive repairs later.
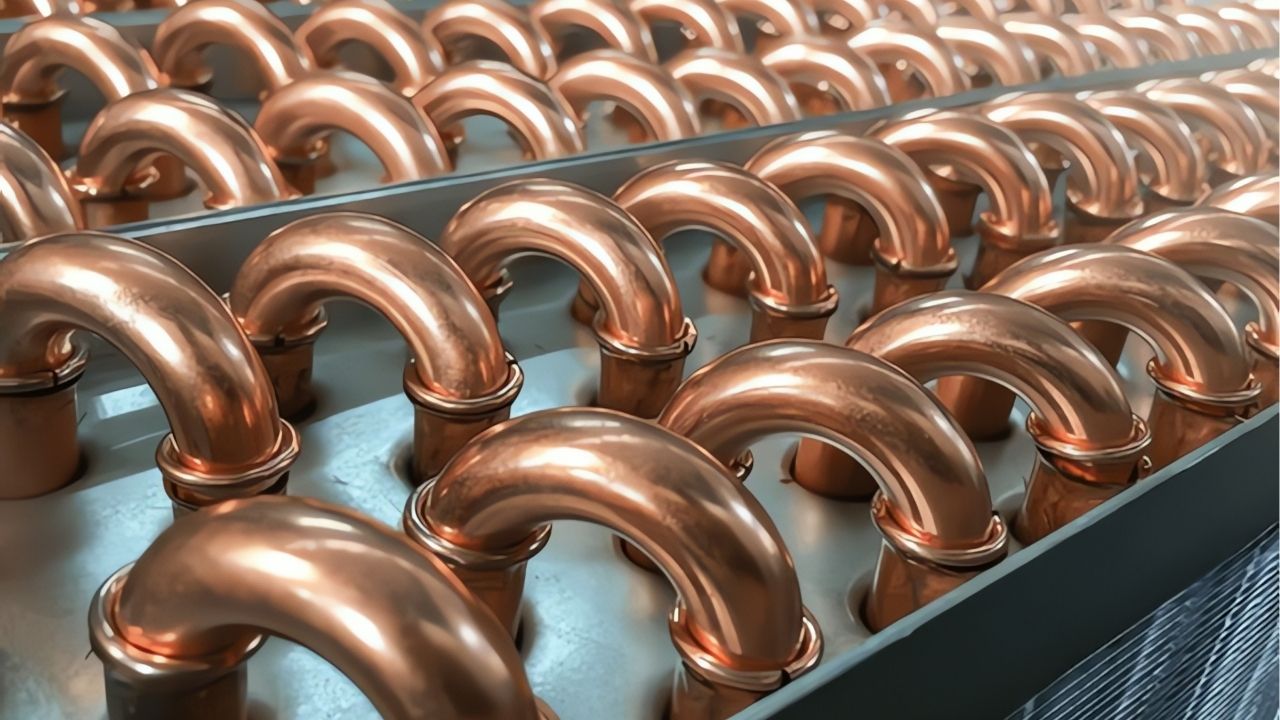
The check begins with a visual inspection. Brazed joints, flanges, service valve caps, and the connections of capillary or expansion valves should be examined carefully. Oil traces, scaling, or colour changes along the brazed lines can be the first signs of a leak.
After the visual inspection, the circuit is charged to a suitable pressure and left for a set period while the pressure drop is monitored. The gas, method, and pressure values used for the test should be selected according to the design data of the circuit and the refrigerant in use. The effect of changes in ambient temperature on the pressure reading should also be taken into account during the test.
After any leak found has been repaired, the check should be repeated. The quality of the repair should be confirmed across the whole circuit, not only at the visible point. This repeat check shows that the sealed leak has not reappeared.
Evacuation and moisture control before commissioning are also part of this stage. Air and moisture left in the circuit affect the condensing pressure and the cooling performance negatively. Correct application of these steps ensures that later readings are reliable.
The condition of the measuring instruments used during the leak check should also be assessed. A test carried out without knowing whether the gauges and sensors work correctly can lead to a false sense of safety.
Which Values Are Monitored At First Start-Up?
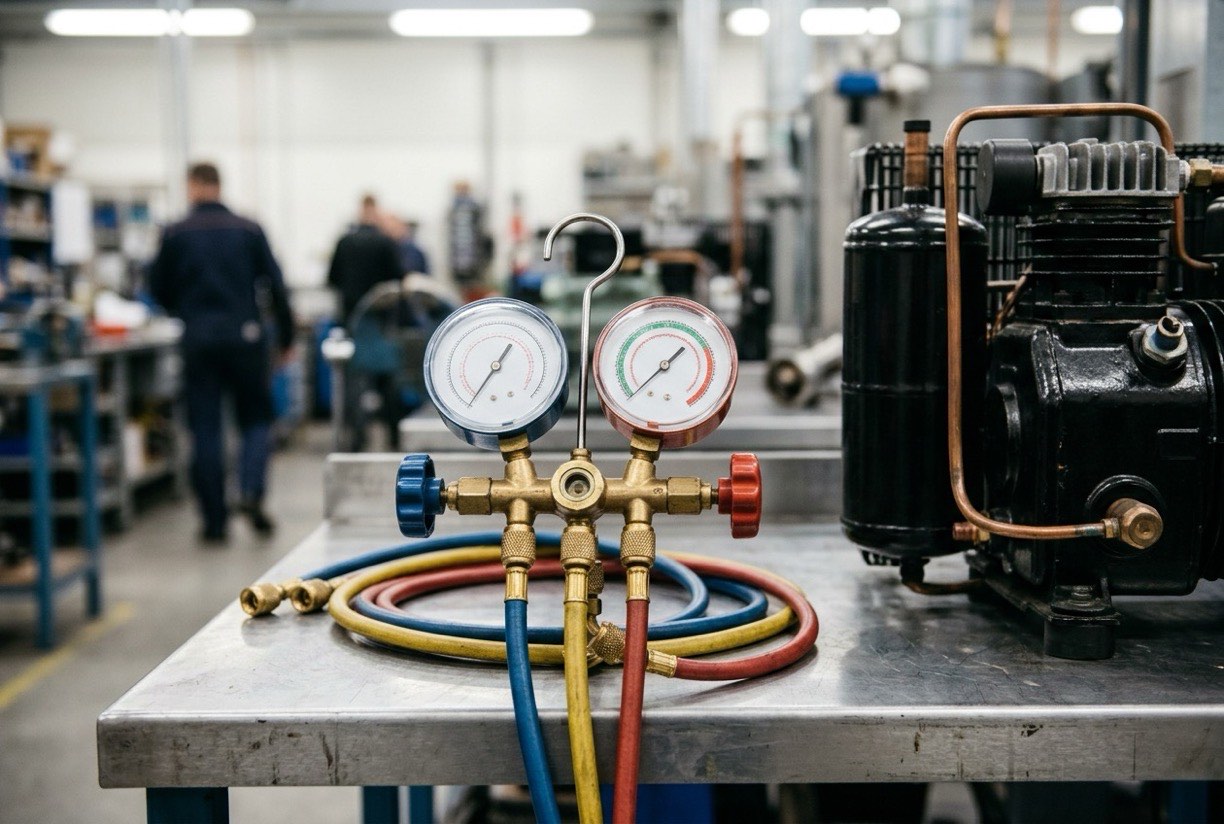
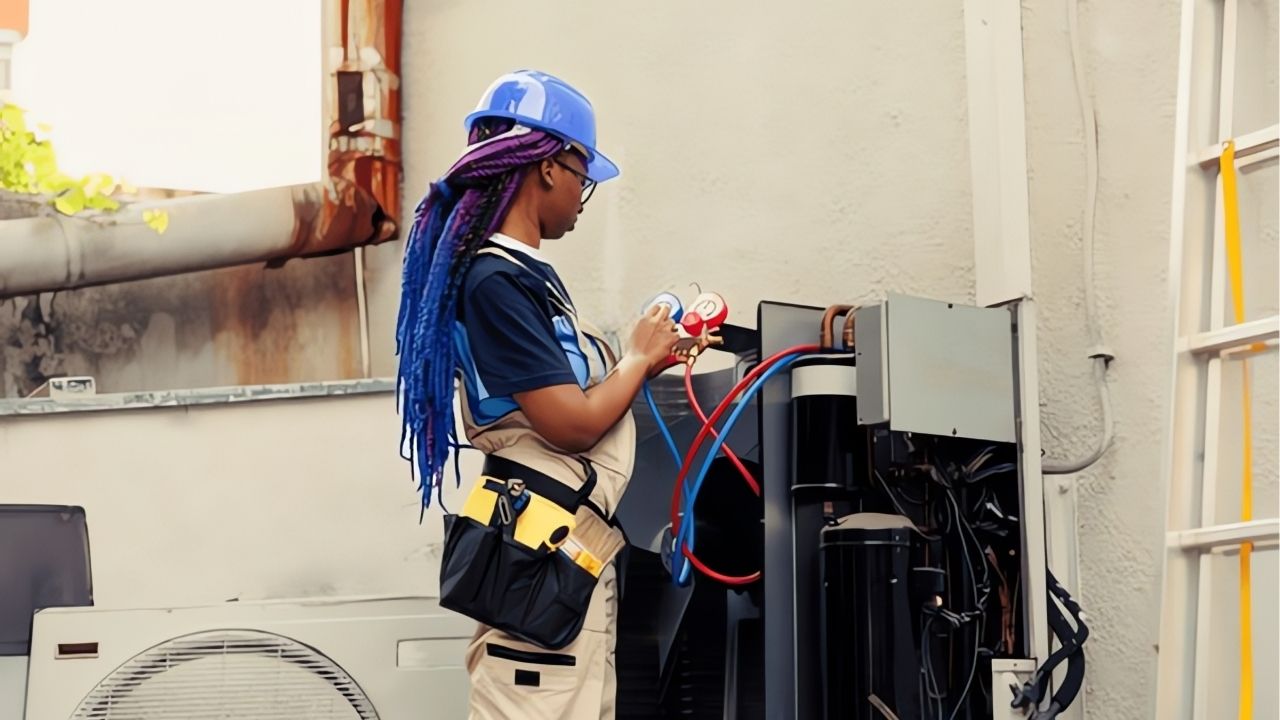
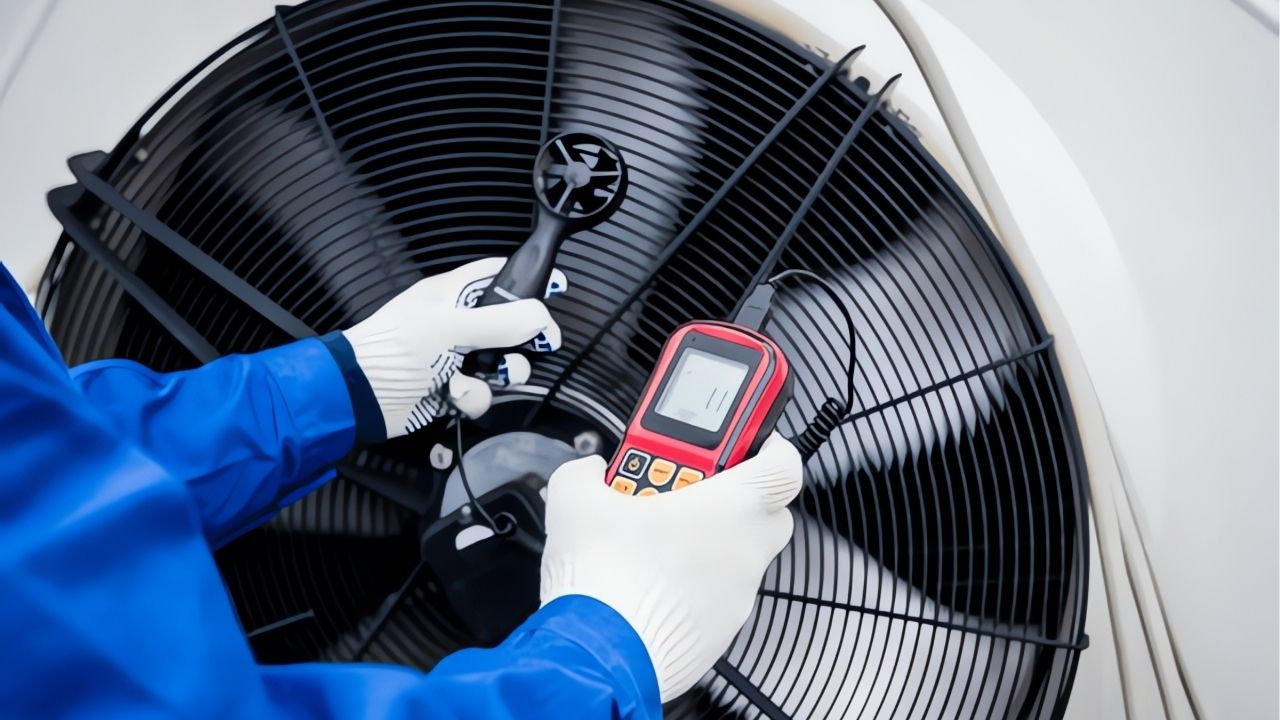
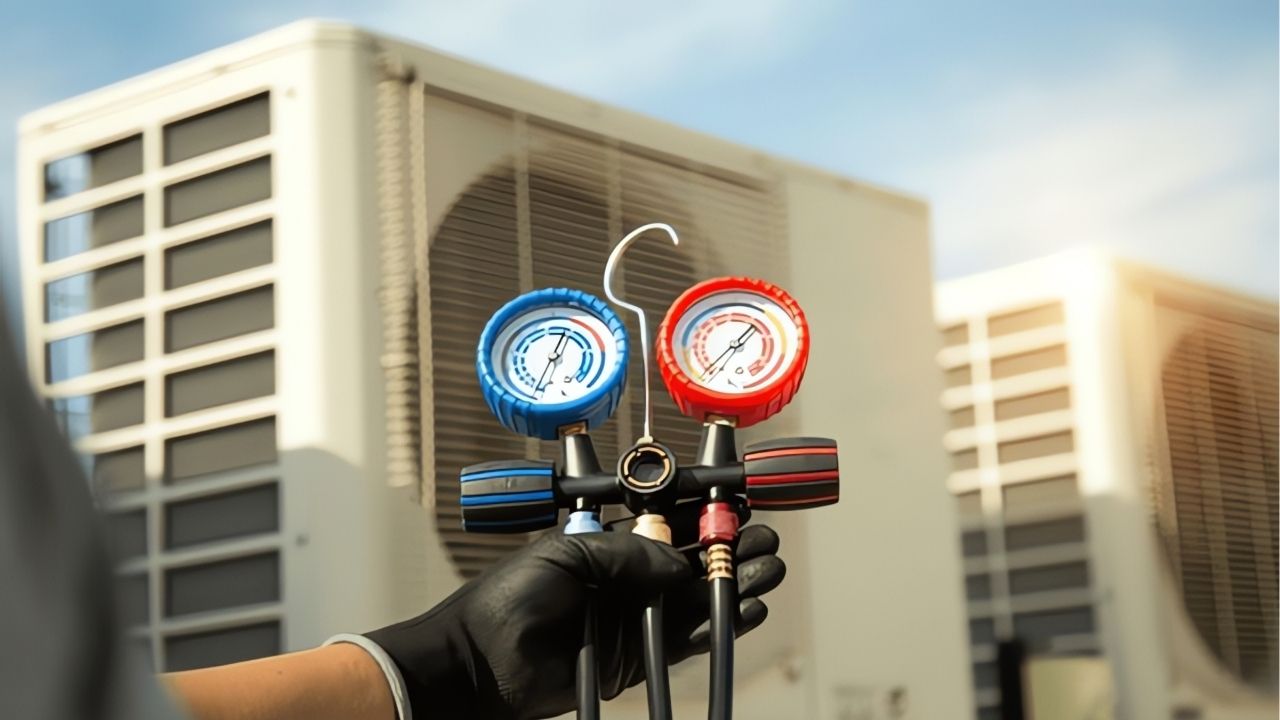
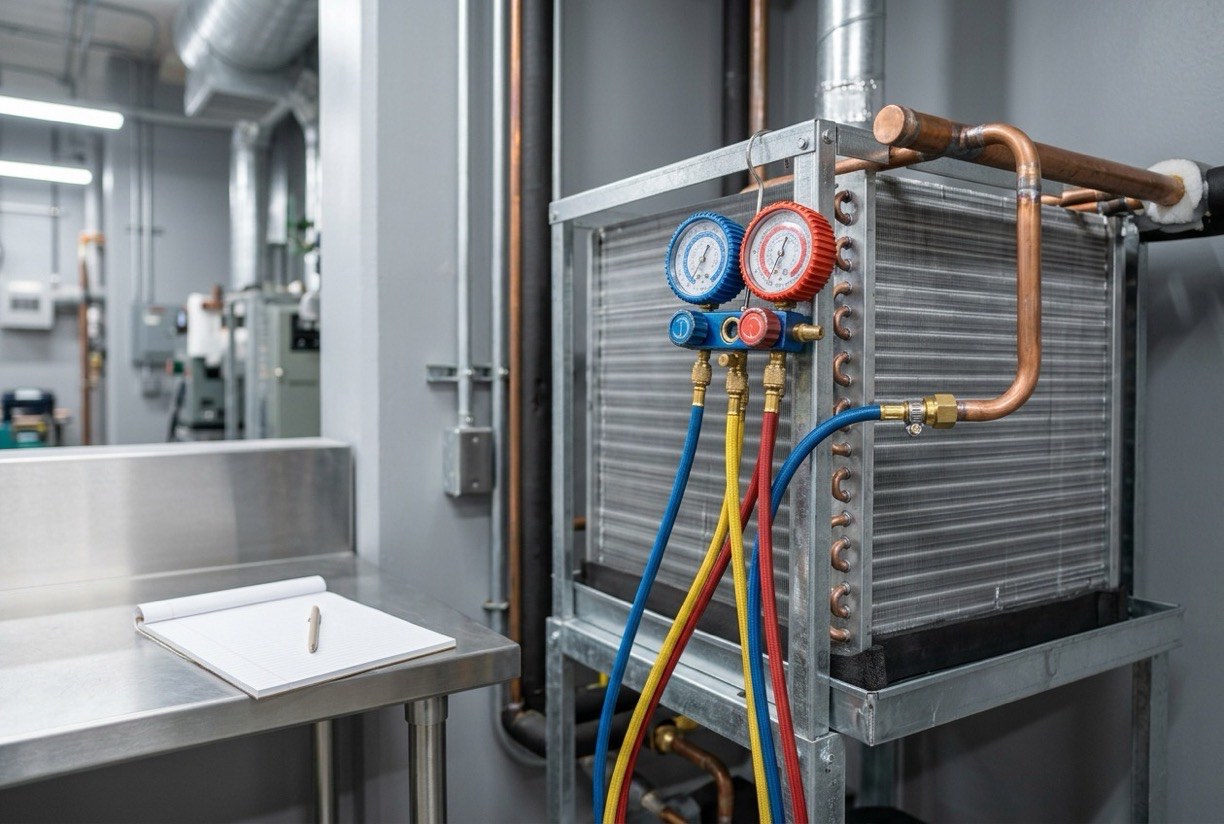
At first start-up, the suction pressure, condensing pressure, suction line temperature, and evaporator outlet temperature should be monitored. The superheat value should be checked once the system has settled. Observations should be made over several cycles until the values are stable.
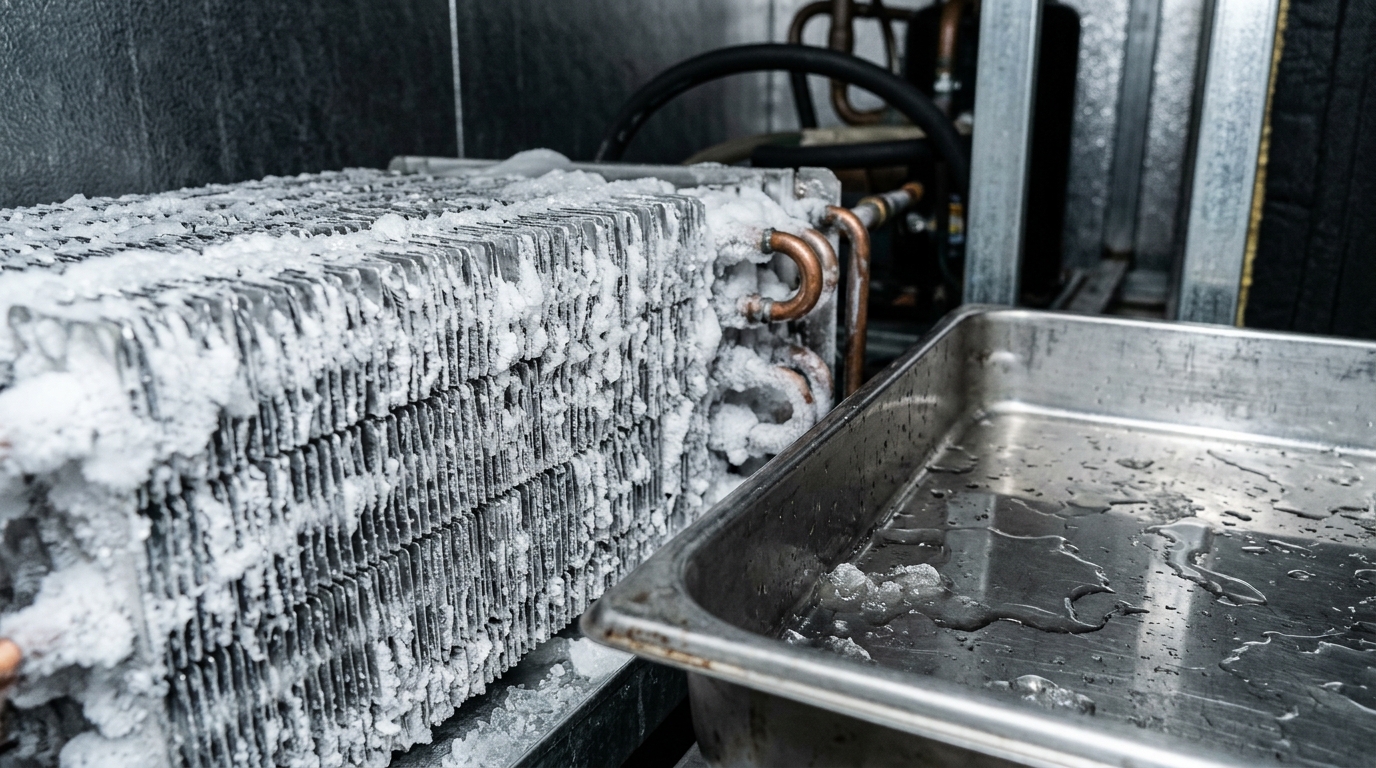
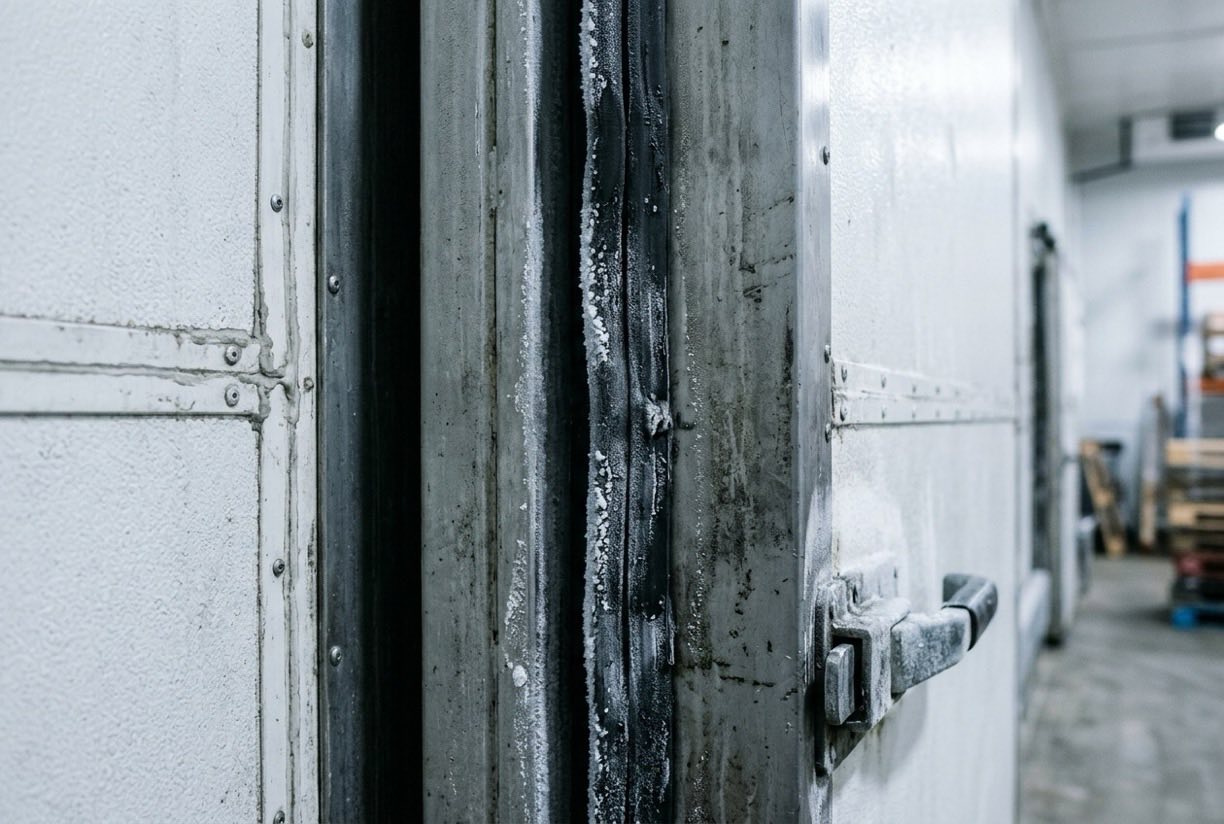
The defrost cycle should also be tested at first start-up. It should be confirmed that the defrost start and end work correctly and that melted water drains properly.
The values monitored at first start-up are the first picture of how the system behaves. The suction pressure, condensing pressure, suction line temperature, and evaporator outlet temperature should be read together. A single value interpreted alone can be misleading; the relationship between the values gives the real information.
Superheat shows how much the fluid at the evaporator outlet is superheated, and it helps to understand whether the supply to the evaporator is correct. The value should be checked once the system has settled. Readings taken before the system is settled can lead to a wrong conclusion.
Observations should be made over several cycles until the values become stable. Pressure and temperature curves should be noted in every cycle in which the compressor starts and stops. When these curves show a repeating pattern, that is the strongest sign that the system is operating stably.
The defrost cycle should also be tested at first start-up. It should be confirmed that the defrost start and end work correctly and that melted water drains properly. After defrost, the fan delay and the condition of the water in the pan should also be checked.
While taking measurements, the room temperature and the load should be recorded as well. The same system can show different values under different conditions. This information provides a sound basis for comparing the values with the design.
Recording the values should be done together with the operating conditions, not as numbers alone. Information such as door openings, product intake, and outside temperature can change the meaning of the readings considerably. Recording this information strengthens later comparisons.
Why Is The Commissioning Report Important?
The commissioning report records the initial state of the system. The measured values, the settings made, and the deficiencies found become a reference for future maintenance and fault diagnosis. Without a report, it becomes harder to judge the effect of a later change.
The report also makes responsibilities clear between the project owner and the installation team.
A commissioning report should not only list numbers. Photographs, revisions of the schematic, and the details of the measuring instruments used should also be included. If the calibration status of an instrument is uncertain, the value of the report is also open to question. The report should therefore explain how each measurement was made.
The report also serves as a guide for the operating staff of the facility. If the normal operating values, the alarm thresholds, and the usual maintenance intervals are included, the staff can monitor the system more accurately. A copy of the report should be kept at the site.
Clear wording matters when preparing the report. Besides a technical reader, a manager or a new technician who opens the file later must be able to understand it. A clear report also proves that commissioning has truly been completed.
The last section of the report should list the tasks to be done after commissioning and the people responsible for them. If each open item is listed with a date and a responsible person, the completion of the process can be followed.
The sign-off of the report should be recorded with the names of those who performed each check. This record makes it clear who verified which value, which in turn supports accountability if a dispute arises later.
Frequently Asked Questions
Who should carry out the commissioning?
It should be carried out by an experienced technical team competent in refrigeration systems. Depending on the project size, the participation of the manufacturer's team can also be considered.
How long does commissioning take?
It depends on the size and complexity of the system and on how detailed the measurements are. It should continue until the checklist is complete rather than running for a fixed time.
Which signs need attention at first start-up?
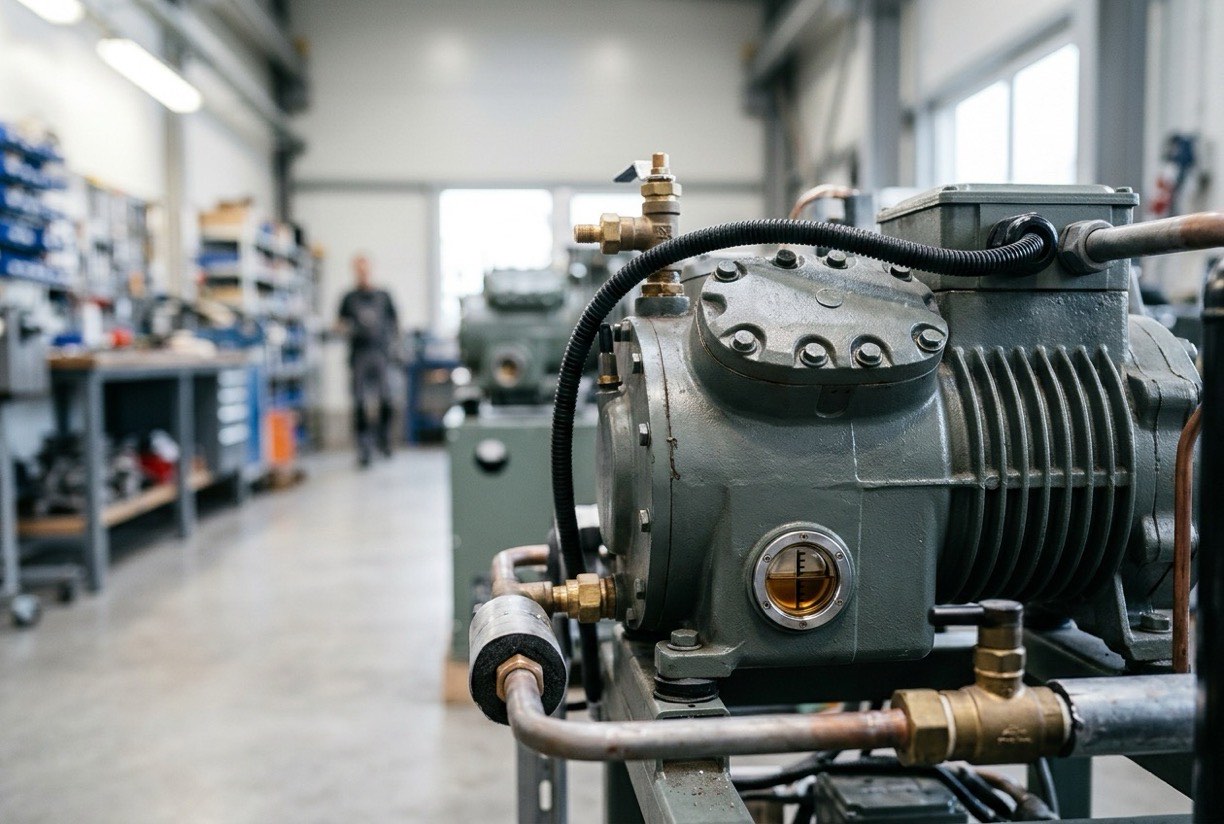
Abnormal vibration, excessive noise, persistent frosting, cooling lower than expected, and unusual compressor temperature need attention. In such cases the system should be stopped and the cause investigated.
What should a commissioning team bring on site?
A calibrated set of measuring instruments, the project drawings and the electrical diagram, the manufacturer's data sheets, and a checklist are the minimum. Without these documents, the values read on site cannot be compared with the design.
When should the first maintenance be scheduled?
The first maintenance should be planned once the system is running stably and the records have been evaluated. Data collected in the first weeks helps set a realistic maintenance interval. It is advisable to include this plan in the commissioning report.